A patch is one of the most flexible repairs in hand sewing, and it’s worth understanding on its own rather than only as a step buried inside a more specific repair. How to Fix a Small Hole in a Shirt and How to Repair a Small Hole in Jeans cover patching in the context of those specific garments and damage; this article covers the general technique — choosing, placing, preparing, attaching, and checking a patch — that those and other repairs draw on.
What a Patch Is Actually For
A patch isn’t just a cosmetic cover-up. Depending on the situation, a patch can add structural reinforcement to weakened fabric, cover an area where material is actually missing, stabilize a spot that’s thinning before it fully gives way, or serve as visible, decorative mending if that’s the look you want. None of these purposes is more “correct” than another, and a visible patch someone chose on purpose isn’t an inferior repair to one hidden on the inside — they’re just different choices with different results.
Patch on the Inside vs. the Outside
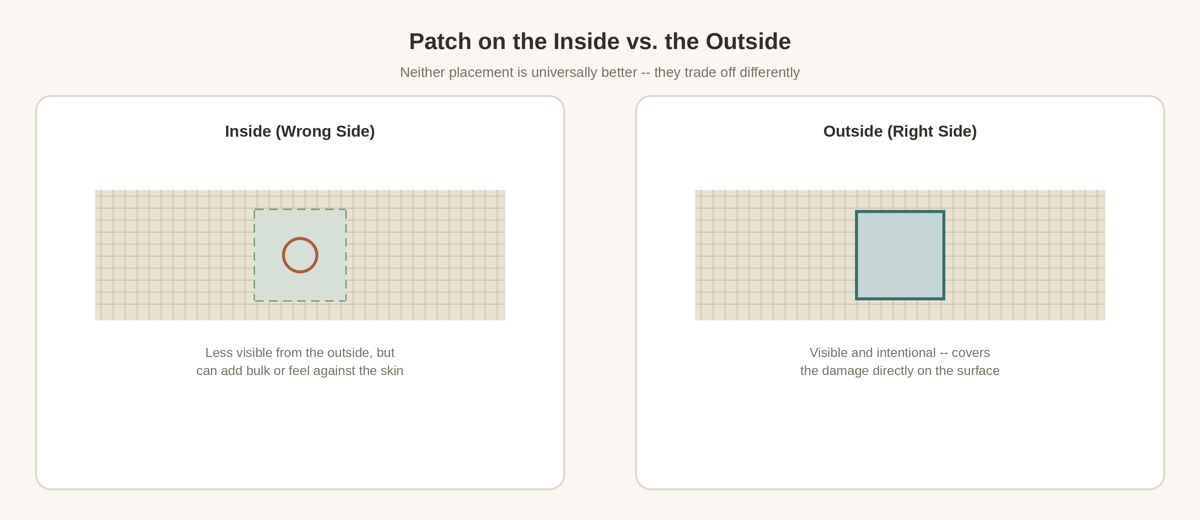
An inside (wrong-side) patch sits behind the damage, which generally makes it less visible from the outside — but it still adds a layer of fabric, which can affect bulk and, on shirts and pants especially, how the area feels against your skin. An outside (right-side) patch sits directly on the visible surface, which is often an intentional choice: it covers the damage directly and can look deliberate rather than like something you’re trying to hide. Neither placement is universally better — it depends on the garment, the damage, and how much you care about visibility versus comfort and bulk.
Extend the Patch Onto Sound Fabric
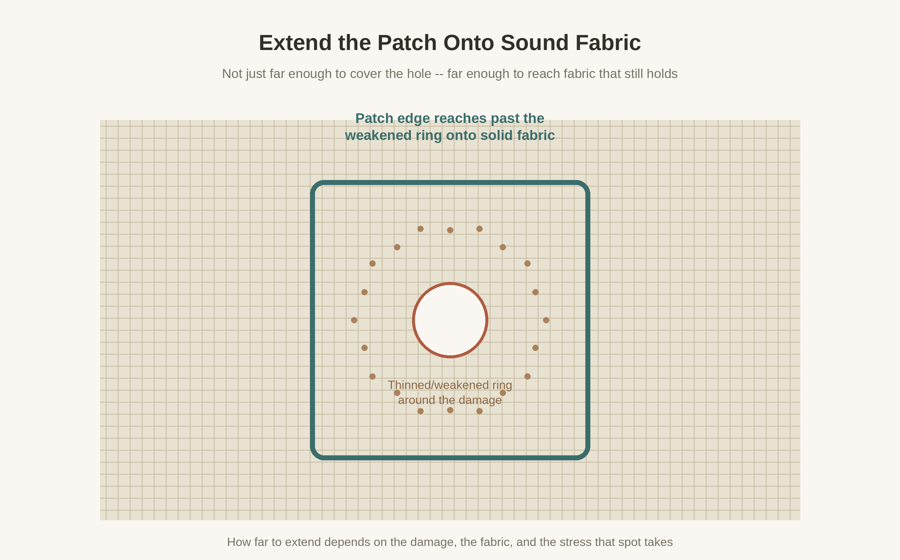
Whatever patch you use, it needs to reach past the damage itself and onto fabric that still feels solid — not just cover the hole or tear with the patch’s edge landing right at the weakest point. There’s no single correct margin, like “an inch bigger on every side,” that applies to every repair. How far to extend the patch depends on the size of the damage, how far the surrounding weakness actually extends, the fabric itself, how much stress that area takes, the patch material you’re using, and the specific repair method. A small, isolated hole in solid fabric needs less margin than damage surrounded by a wider area of thinning.
Choosing Compatible Patch Material
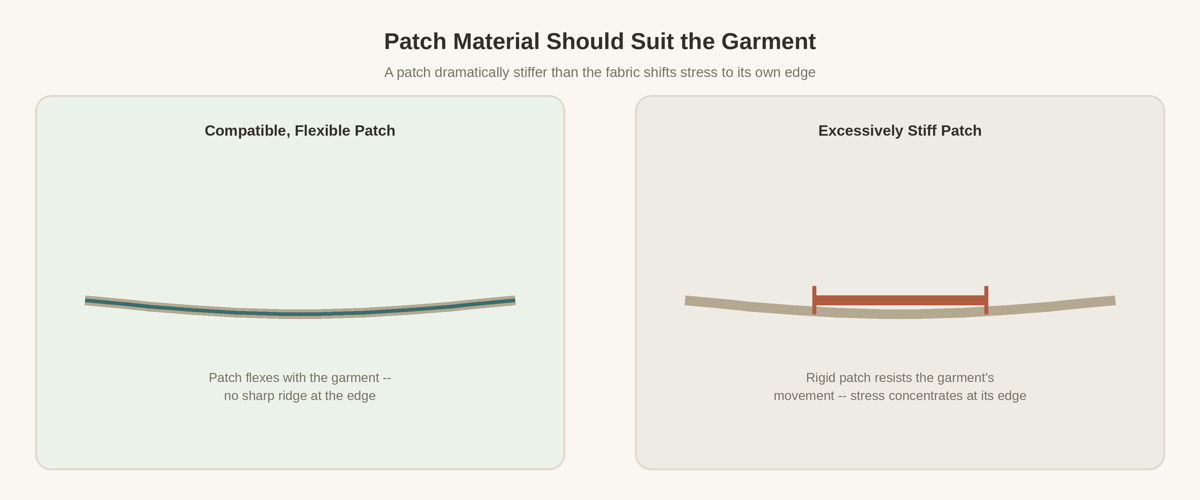
Rather than reaching for whatever feels like the strongest fabric available, think in terms of compatibility with the garment: weight, flexibility, how much the fabric stretches, how it behaves in the wash, how much bulk it adds, and whether it can move the way the garment needs to move. A patch that’s dramatically stiffer than the surrounding fabric doesn’t just sit there passively — it resists the garment’s normal movement, which shifts stress to the patch’s own edge and can eventually cause new damage right at that boundary. This isn’t a claim that any particular fiber is always right or wrong for patching; it’s about how the specific patch material behaves relative to the specific garment.
Preparing the Area
Before attaching anything, inspect the damage itself: how large it is, whether it’s fraying, and how the surrounding fabric feels compared to fabric elsewhere on the garment. Remove any loose thread carefully rather than pulling at it. Flatten the area to work on it rather than stretching the fabric taut, which can distort how the patch ends up sitting once the garment relaxes again. Avoid cutting away damaged fabric unless a specific repair method genuinely calls for it — and if it does, that’s worth understanding why before you cut, not just doing it to make the area look neater. Enlarging a hole “to make it cleaner” without a real reason usually just means more fabric to repair.
Position, Pin, Check, Then Stitch
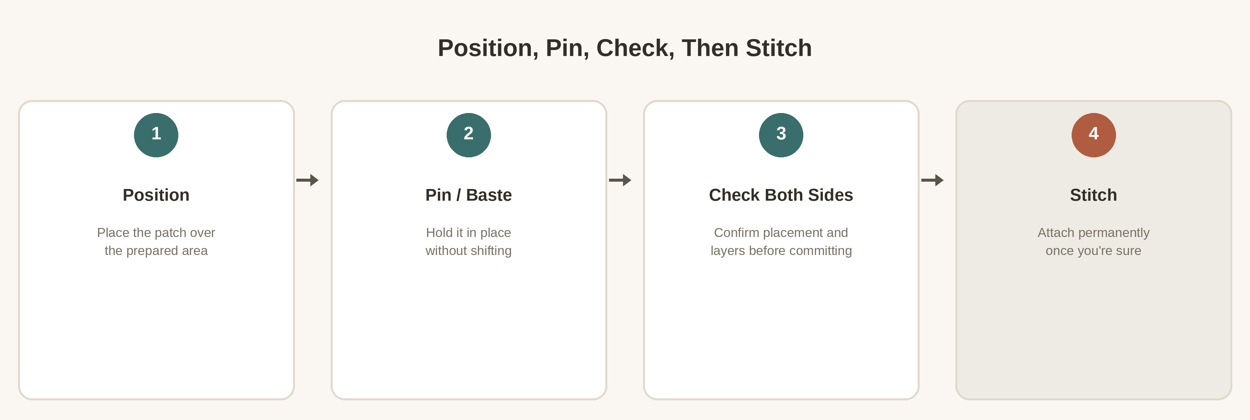
Position the patch where you want it, then pin, clip, or baste it in place so it can’t shift while you work. Before committing to permanent stitching, check both sides of the fabric — confirm the patch is sitting where you intended, and that you haven’t accidentally caught or misaligned any layers underneath. This check costs a minute and can save you from unpicking a finished repair.
Attaching the Patch
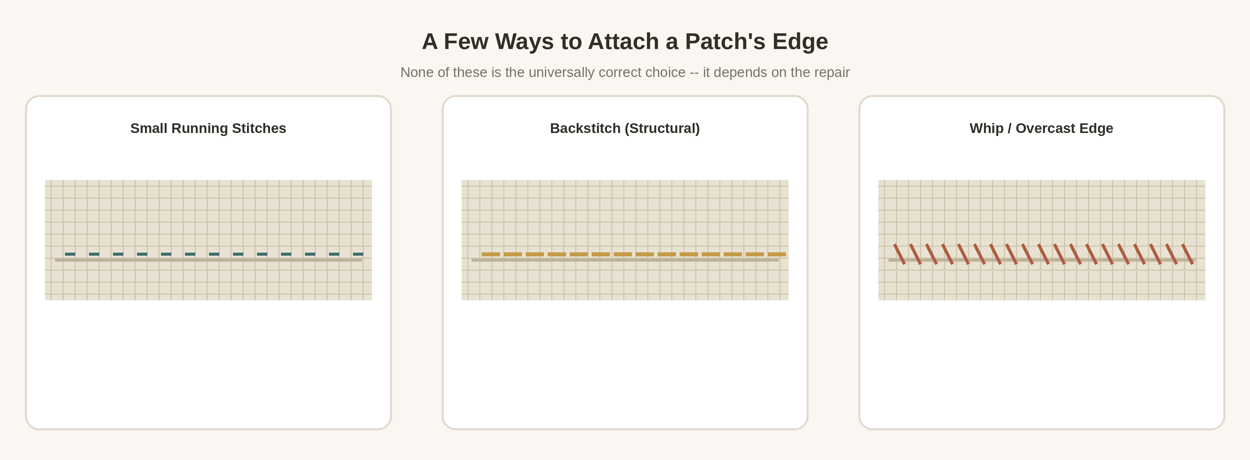
A few approaches to the patch’s edge are all reasonable, depending on the repair: small running stitches, a backstitch where the situation calls for something more structural, whip or overcast-style stitching along the raw edge, or visible decorative stitching if that’s the look you’re going for. Basic Hand Stitches Every Beginner Should Know covers the mechanics of these stitches in more depth than repeated here. None of these is universally the best choice — what matters more than which specific stitch you use is that the edge is genuinely secure and that the stitching distributes reinforcement across a reasonable span rather than concentrating it in fragile fabric immediately beside the damage. How to Choose a Sewing Needle for Hand Sewing can help you match a needle to the patch and garment fabric you’re working with.
If you’re working with a square or rectangular patch, it’s worth thinking about the corners specifically, since they can be a natural weak point. Rounding the corners slightly is a reasonable choice in a lot of cases because a sharp corner can catch and start to lift before the rest of the edge does — but that’s a practical reason to consider in context, not a rule that every patch needs rounded corners.
Stretch Fabric Needs Extra Thought
A patch on a stretch garment — a T-shirt, leggings, anything meant to move with the body — can noticeably reduce the fabric’s elasticity right at that spot if the patch material or the stitching itself can’t stretch along with it. That’s not a reason to avoid patching stretch fabric, but it does mean a patching approach that works well on a rigid woven garment shouldn’t be applied unchanged to a knit one; the patch material, thread, and stitch all need to allow for the fabric’s actual movement.
Comfort From the Inside
For an inside patch especially, think about what the wearer will actually feel: scratchy raw edges, bulky knots, stiff patch material, and generally anything sitting against skin-contact areas. This matters most on shirts and pants, where an inside patch sits closer to the body than it would on, say, a jacket lining. A little extra care in finishing the edge and tucking away knots goes a long way toward a repair that’s comfortable to actually wear, not just structurally sound.
Checking the Finished Patch
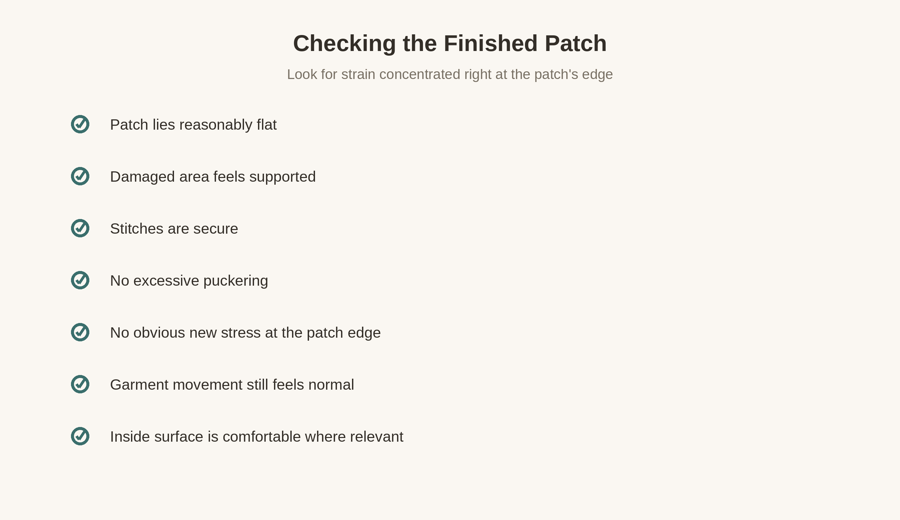
Before considering the repair done, check that the patch lies reasonably flat, that the damaged area feels genuinely supported, and that the stitches are secure. Look for excessive puckering and for any obvious new stress concentrated right at the patch’s edge — a sign the reinforcement may not extend far enough or that the patch material doesn’t suit the garment. Confirm the garment still moves normally, and where it’s relevant, that the inside surface is comfortable rather than scratchy or bulky. If the damage you’re patching is more extensive than a straightforward repair, or you’re working on a garment you don’t want to risk getting wrong, When Clothing Can Be Repaired and When It Should Be Replaced can help you weigh the options. How to Choose Thread for Clothing Repairs is also worth a look if you’re unsure what thread suits the patch and garment you’re working with.