Not every damaged garment is worth fixing, and not every damaged garment is worth giving up on — but it’s genuinely hard to tell which is which when you’re standing there looking at a hole, a split seam, or a worn patch of fabric. This isn’t a tutorial for how to mend something. It’s a way to look at the damage in front of you and work out, realistically, what your options actually are.
What Actually Determines Repairability
Whether a piece of clothing is worth repairing rarely comes down to one thing. A few factors tend to matter most: what kind of damage it is and how severe it looks, where on the garment it sits, how sound the fabric around it is, whether the damage is confined to one spot or spread across the piece, whether it affects the garment’s structure or just its appearance, how much stress that area takes during normal wear, and how much genuinely sound fabric is left to anchor a repair into. None of these determine the outcome on their own — they work together, and weighing them is the actual skill this guide is trying to build.
It also helps to separate two different questions that often get blurred together: whether a repair is realistic for a beginner to attempt, and whether the garment is repairable at all. Those aren’t the same question. A repair can be difficult, slow, or better suited to someone with more experience without the garment being a lost cause — it may just call for a different path than doing it yourself.
Localized Damage vs. Widespread Deterioration
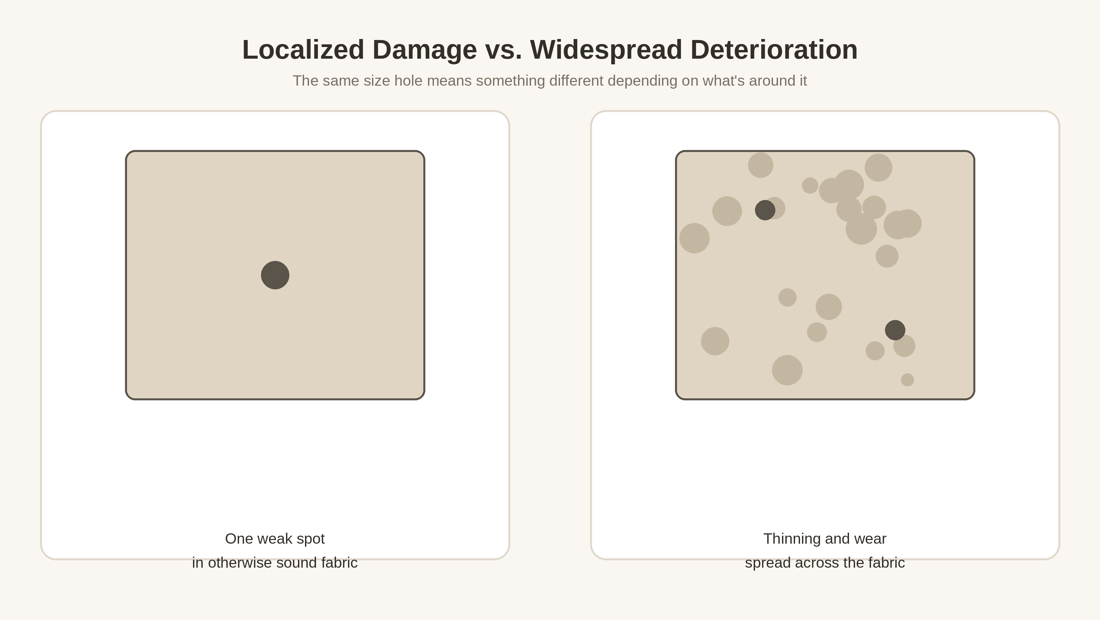
A single hole, tear, or popped seam in fabric that’s otherwise sound is a fundamentally different situation from fabric that’s thinning, fraying, or developing damage in multiple places. Localized damage usually has something solid to repair into — the stitching or patch has strong material to anchor to on all sides. Widespread deterioration doesn’t offer that: even a technically correct repair has little to hold onto if the surrounding fabric is also weak, and new damage tends to appear nearby soon after.
This is often more informative than the size of the damage itself. A large tear in an otherwise sturdy garment can be more repairable than a small hole in fabric that’s visibly thinning all over.
Structural Damage vs. Cosmetic Damage
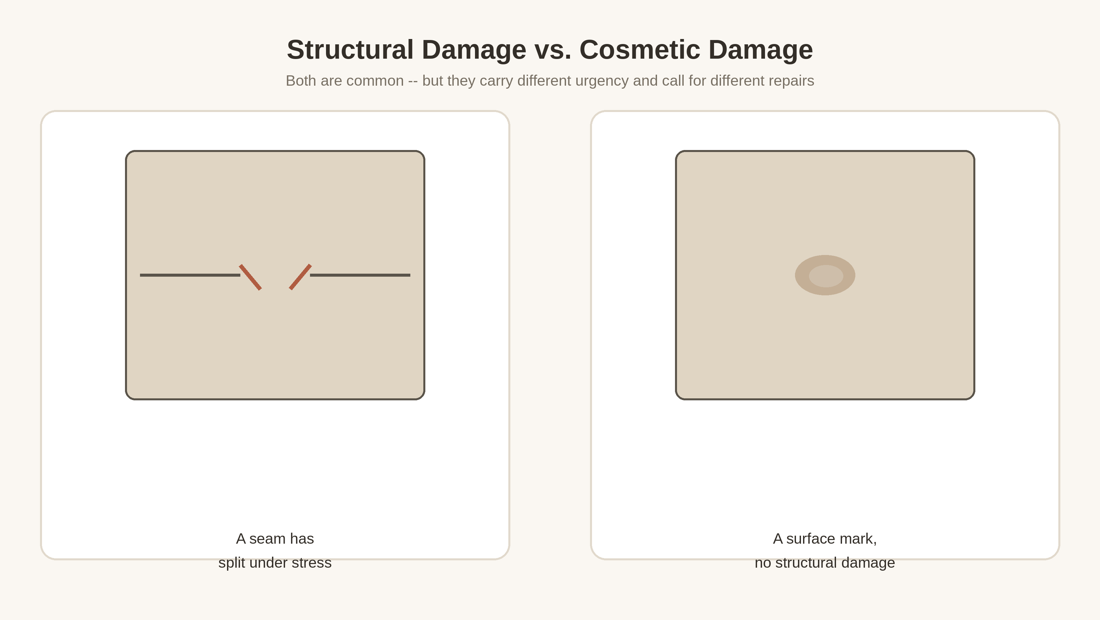
Structural damage affects how the garment holds together or fits — a split seam, a torn area at a stress point like a crotch, underarm, or waistband, or a hole somewhere the fabric is pulled taut during wear. Cosmetic damage affects only appearance — a stain, a faded patch, a snag that hasn’t broken through the fabric. Both are common, but they carry different urgency and call for different kinds of attention: structural damage tends to get worse with continued wear until it’s addressed, while cosmetic damage generally doesn’t.
Structural doesn’t mean harder to fix, and cosmetic doesn’t mean easy to fix — a straight seam split is often one of the simpler repairs to learn, while some stains and fabric damage from sun or wear are effectively permanent. The distinction is about what kind of problem you’re solving, not how difficult solving it will be.
What Surrounds the Damage Matters as Much as the Damage Itself
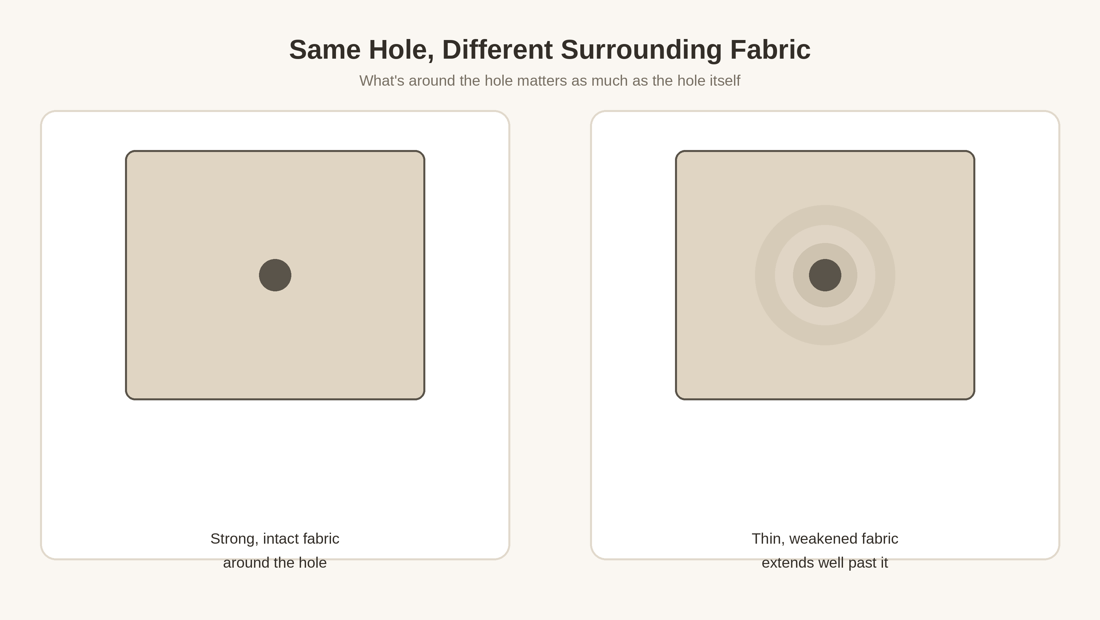
Two holes that look identical can call for different decisions depending on what’s around them. A hole surrounded by fabric that’s still strong gives a patch or darn something solid to attach to, and the repair is likely to hold under normal wear. The same hole surrounded by fabric that’s visibly thinned or weakened — even if that weakened area hasn’t torn yet — is a warning sign that a repair placed right at the edge of the hole will likely tear out again nearby, because the underlying fabric can’t support it.
Before deciding how to repair something, it’s worth gently checking the fabric an inch or two beyond the visible damage: does it feel and look the same as fabric elsewhere on the garment, or noticeably thinner and less substantial? That answer often matters more than the damage itself.
Four Realistic Paths Forward
Once you’ve looked at the damage type, its location, and the fabric around it, most situations sort into one of four realistic paths: repairing it yourself, having a professional repair or alter it, repurposing the fabric or garment for something else, or replacing it. None of these is automatically the “right” choice for a given type of damage — they depend on the combination of factors above, plus how much the piece matters to you and how much time or cost you’re willing to put in. The table below is a starting point, not a formula.
| Damage / Condition | What to Check | Beginner DIY? | Professional Repair? | Practical Next Step |
|---|---|---|---|---|
| Cosmetic only — a stain, fade, or surface mark; fabric structurally intact | Whether the mark is treatable (fresh stain) or likely permanent (old set-in stain, sun fading) | Not usually a sewing repair at all | Rarely needed unless it’s dyeing or specialty cleaning | Try appropriate cleaning or accept the mark; the garment is otherwise sound |
| Localized hole or tear, sound fabric around it, low-to-moderate stress area | Size of the damage and strength of the fabric an inch or two beyond it | Often realistic to learn and attempt | Not usually necessary | Choose a patch or mending technique suited to the fabric and try it |
| Structural damage at a high-stress or complex point (seam, crotch, waistband), fabric around it still sound | Whether it’s a straight seam a machine can restitch or a more complex construction point | Possible on a simple straight seam | Worth considering for complex construction, high-stress points, or repairs beyond your current skill level | Attempt a simple seam repair yourself, or take complex structural repairs to a tailor |
| Fabric thinning, fraying, or recurring damage spread across the garment | Whether weakness extends well beyond the visible damage, and whether new spots keep appearing | Repairs are unlikely to hold for long | Can sometimes reinforce a valued piece, but can’t reverse widespread wear | Consider repurposing the sound sections, or retiring the garment from its original use |
| Garment has real sentimental or practical value despite its condition | How much genuinely sound fabric remains, and what the piece means to you beyond its current state | May be worth attempting even when it isn’t the easiest repair | Often the better route for something irreplaceable | Weigh the effort against what the piece means to you, not its replacement cost alone |
When DIY Repair Makes Sense
A DIY repair tends to make sense when the damage is localized, the surrounding fabric is sound, and the technique involved is one you can learn and check as you go — basic patches, hand-sewn mends, and simple seam repairs all fall into this range for most beginners. It’s worth being honest that “realistic for a beginner” and “not repairable” are different claims: a repair that isn’t the easiest place to start doesn’t mean the garment can’t be repaired at all, only that this particular repair might be a better fit for more practice, a different technique, or someone else’s hands.
It’s also worth saying plainly that a visible repair — a patch that shows, mending stitches you can see — isn’t a lesser outcome. Whether a repair should be invisible or is fine to show depends on the garment and what you want from it, not on some inherent hierarchy where visible mending is a downgrade from a “proper” repair.
When a Professional Repair Is Worth It
A tailor, alterations specialist, or clothing repair service is worth considering when the damage sits at a structural or high-stress point that’s more complex than a straight seam, when the fabric or garment is delicate enough that a mistake would be hard to undo, or when the piece has enough value — sentimental or practical — that you’d rather put it in more experienced hands than risk the outcome yourself. This is also a reasonable choice simply because a repair is more involved than you want to take on right now, independent of whether you could eventually learn to do it.
When Repurposing Makes More Sense Than Repairing
Repurposing tends to fit best when a garment has widespread damage or wear but still contains sections of genuinely sound fabric — a shirt too thin to keep wearing that still has enough intact fabric for a patch on something else, for instance, or a pair of jeans with a damaged knee but sound fabric everywhere else. It’s also a reasonable choice when a repair is technically possible but wouldn’t bring the garment back to something you’d actually want to wear, even though the fabric itself still has some use left in it.
When Replacement Is the Better Option
Replacement tends to make the most sense when damage is widespread rather than localized, when the fabric around the damage is broadly weakened rather than just the immediate area, when repeated repairs in the same garment haven’t held, or when a garment carries little sentimental or practical value beyond its current condition. None of this is about whether the repair would be hard — a difficult repair on a garment with little remaining sound fabric is a different situation from a difficult repair on a garment that’s otherwise structurally solid, and it’s worth telling those two apart before deciding to let something go.
Putting the Picture Together
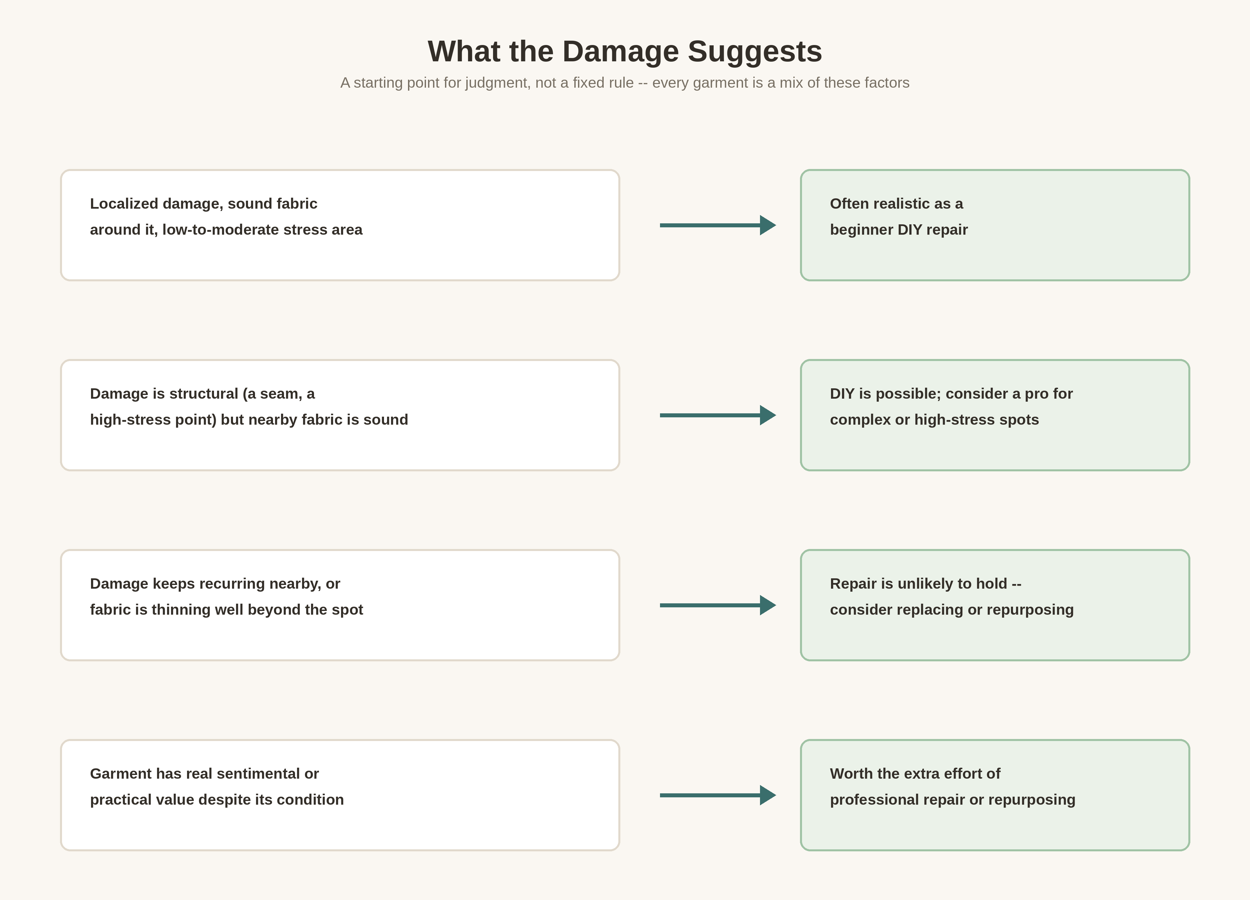
These factors overlap in practice more than any single chart can fully capture, but a rough starting point looks like this: damage that’s localized, in an area that doesn’t take much stress, surrounded by sound fabric, is often realistic to repair yourself. Damage at a structural or high-stress point, still surrounded by sound fabric, is usually repairable either way — a professional is worth considering when the construction is complex, the area takes significant stress, or the repair is beyond your current skill level. Damage that keeps recurring, or fabric that’s thinning well beyond the visible spot, is unlikely to hold a repair regardless of who does it — that’s a stronger signal to consider repurposing or replacing than the type of damage alone. And a garment that matters to you, for reasons that have nothing to do with its condition, is often worth the extra effort of a professional repair or a thoughtful repurpose rather than default replacement.
Getting Started
If you land on DIY repair, the tools and basics covered in Essential Sewing Tools for Beginners, How to Choose a Sewing Needle for Hand Sewing, and How to Choose Thread for Clothing Repairs are the starting point, and How to Use a Seam Ripper Without Damaging Fabric is often the first step if you’re undoing a bad seam or an old repair before redoing it properly.