A small hole in a shirt is a narrower problem than a tear in general — here, fabric has actually separated or worn away rather than just split. How to Fix a Tear in Clothing Without Making It Worse covers assessing and stabilizing damage more broadly; this one is specifically about repairing a small area of missing or separated fabric on a shirt once you’ve confirmed that’s what you’re dealing with. Denim behaves differently — it’s thicker, holds up to more stress, and generally calls for sturdier reinforcement — so if the hole is in jeans rather than a shirt, How to Repair a Small Hole in Jeans covers that repair specifically.
Assess Before You Choose a Method
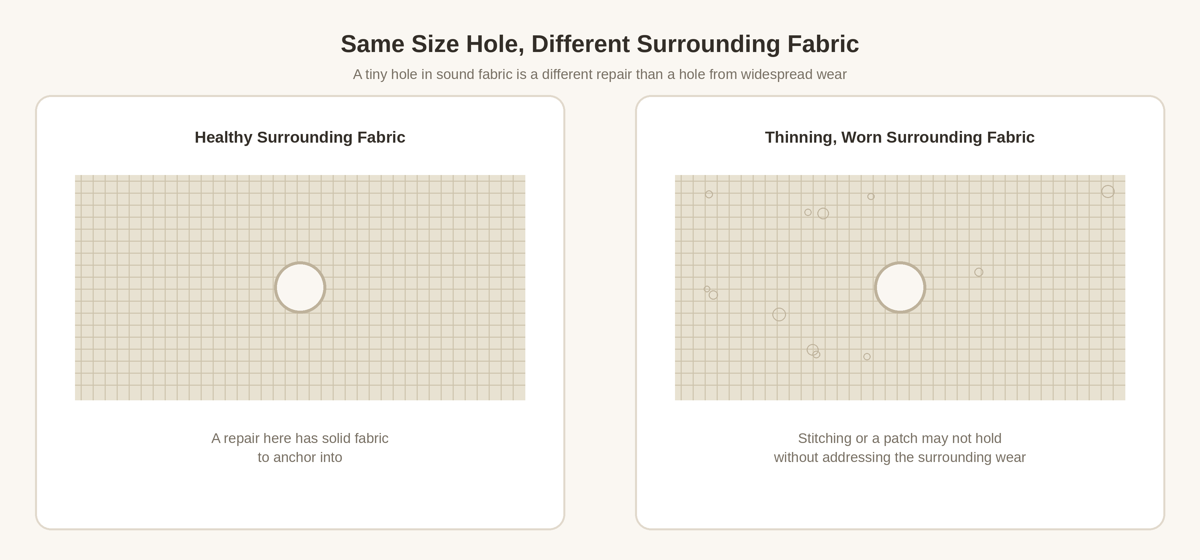
Before deciding how to repair it, look closely at a few things: how big the hole actually is, what likely caused it, whether the fabric around it is fraying, how the surrounding fabric feels compared to fabric elsewhere on the shirt, what the fabric construction is, where on the shirt it is, how much stress that spot takes when worn, and how much you care about how visible the repair ends up being. A tiny hole surrounded by fabric that still feels solid is a meaningfully different repair than a hole caused by fabric that’s thinned out more broadly — the second case usually needs more than stitching at the hole itself.
Choosing a Method — There’s No Single Right Answer
Depending on the hole, the fabric, and what you want the result to look like, a few approaches are all reasonable: careful hand mending directly at the hole, reinforcement stitched behind it, a small patch, visible mending if you like that look, or handing it to someone experienced if the fabric is delicate or the shirt is one you don’t want to risk. None of these is correct for every shirt — a small hole in sturdy cotton and a hole in a fine or delicate weave don’t call for the same approach.
One note on expectations: even a well-done repair on a small hole usually shows some trace if you look closely. It’s fair to describe a careful repair as less noticeable, more discreet, or blending in reasonably well from a normal viewing distance — but “invisible” oversells what most repairs actually achieve, so it’s worth going in with a realistic sense of the result rather than expecting the hole to disappear entirely.
Don’t Just Pull It Shut
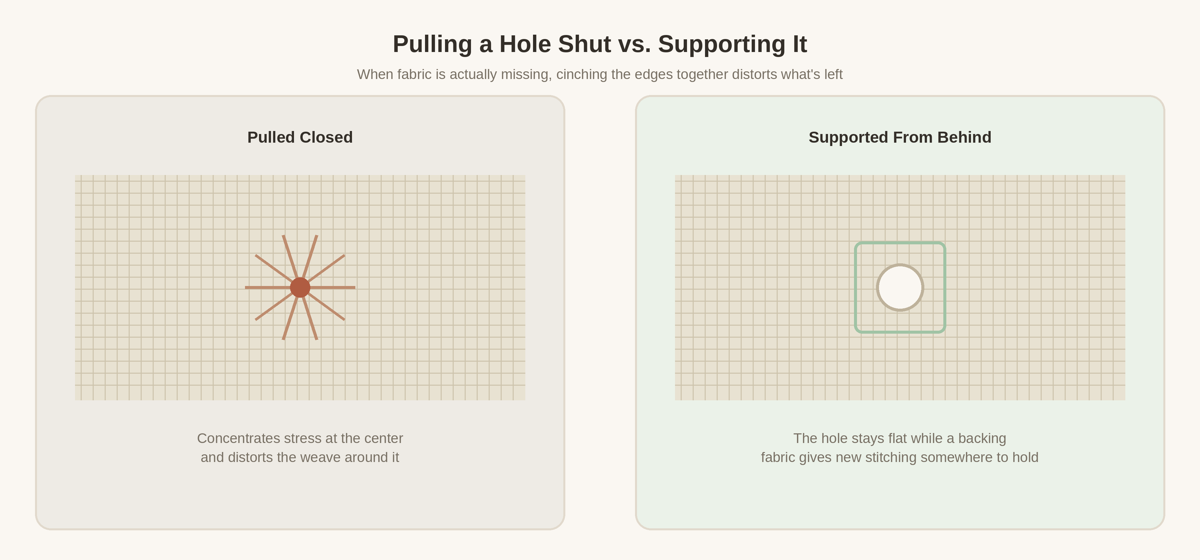
When fabric is actually missing rather than just split, cinching the edges of the hole together tends to pucker and distort the fabric around it, concentrating stress right at the center of the repair — the opposite of what you want in a spot that already failed once. If there’s genuinely no fabric missing and the edges meet with very little pulling, closing it directly can be reasonable; but once material is missing, giving the area support from behind generally holds up better than trying to gather it closed.
Reinforcing From Behind
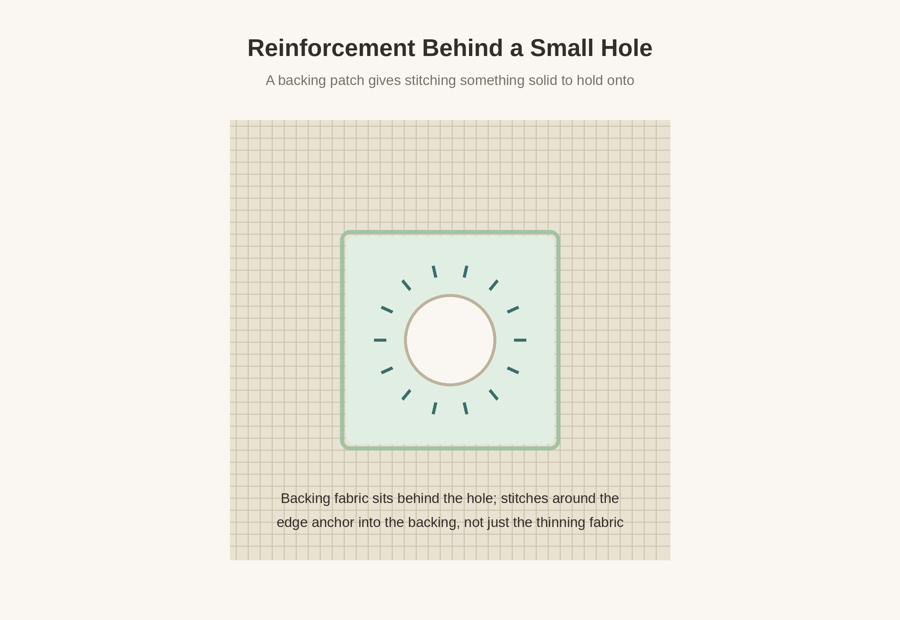
A small piece of sturdy, similar-weight fabric (or fusible interfacing, if you have it) placed behind the hole gives your stitching something solid to anchor into rather than just the thinning fabric at the hole’s edge. Position the backing behind the hole, then stitch around the edge of the hole through both the shirt fabric and the backing, catching sound fabric on both sides of the damage rather than stitching through the weak area alone. This approach also works well as the base for a small patch on the front if you’d rather cover the hole than mend it edge-to-edge — How to Sew a Patch Onto Clothing covers choosing, placing, and attaching a patch in more detail.
Knit and Woven Shirts Don’t Behave the Same Way
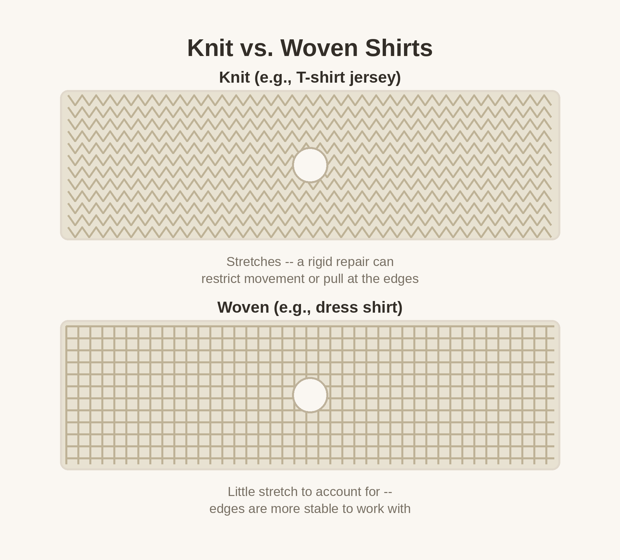
A T-shirt or other knit jersey stretches, and a repair that’s too rigid can restrict that stretch or pull uncomfortably at the edges when the fabric moves — worth keeping in mind when choosing thread, stitch, and how tightly you sew. A dress shirt or other woven fabric has much less give, so the repair doesn’t need to account for stretch the same way, though the weave itself still varies — a tightly woven poplin and a looser, more open weave aren’t identical, so it’s worth looking at your specific fabric rather than assuming all knits or all wovens behave the same.
Thread and Needle
How to Choose a Sewing Needle for Hand Sewing and How to Choose Thread for Clothing Repairs cover matching tools to fabric in general. For this repair specifically, thread that’s a close weight and color match to the shirt tends to blend in better if minimizing visibility matters to you, and Basic Hand Stitches Every Beginner Should Know covers stitches that work well for mending and attaching a small patch.
Checking the Finished Repair
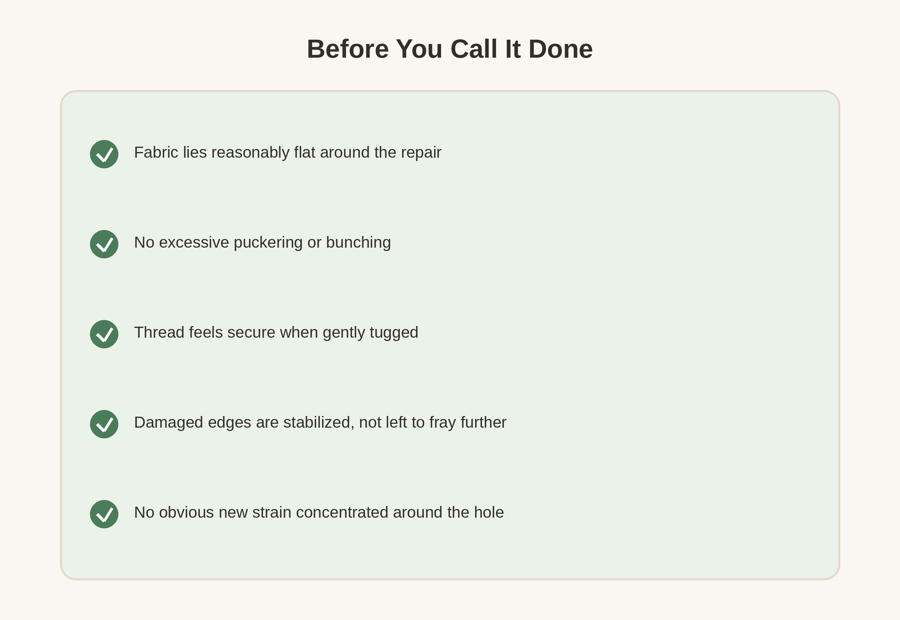
Before considering it done, check that the fabric lies reasonably flat around the repair, that there’s no excessive puckering or bunching, that the thread feels secure when gently tugged, that the damaged edges are stabilized rather than left to keep fraying, and that the repair itself isn’t placing obvious new strain right at the hole. These are the same signs that separate a repair that holds from one that needs redoing soon.
Aftercare
Once the repair is secure, normal washing for the fabric is generally fine — there’s no universal waiting period that applies across every repair and fabric, so if you’re unsure, checking the garment’s care label and being a little more gentle with it for the first wash or two is a reasonable, low-risk approach rather than following a fixed rule.
When It’s Worth More Than a Home Repair
If the fabric is delicate, the hole is on a shirt you value enough that a mistake would be costly, or the surrounding fabric turns out to be more worn than expected once you look closely, it’s worth reading When Clothing Can Be Repaired and When It Should Be Replaced or considering a professional repair rather than risking a shirt that matters to you.