You don’t need a full sewing kit to fix a button, patch a hole, or hem a pair of pants. A small, inexpensive set of tools covers almost every repair a beginner runs into, and most of what gets bundled into “complete” sewing kits at the store sits unused for months, if it ever gets used at all.
This list covers what actually earns a place in a beginner’s toolbox, what to look for when you buy it, and what you can safely skip until you have a specific reason to need it.
The Core Tools You Need for Almost Any Repair
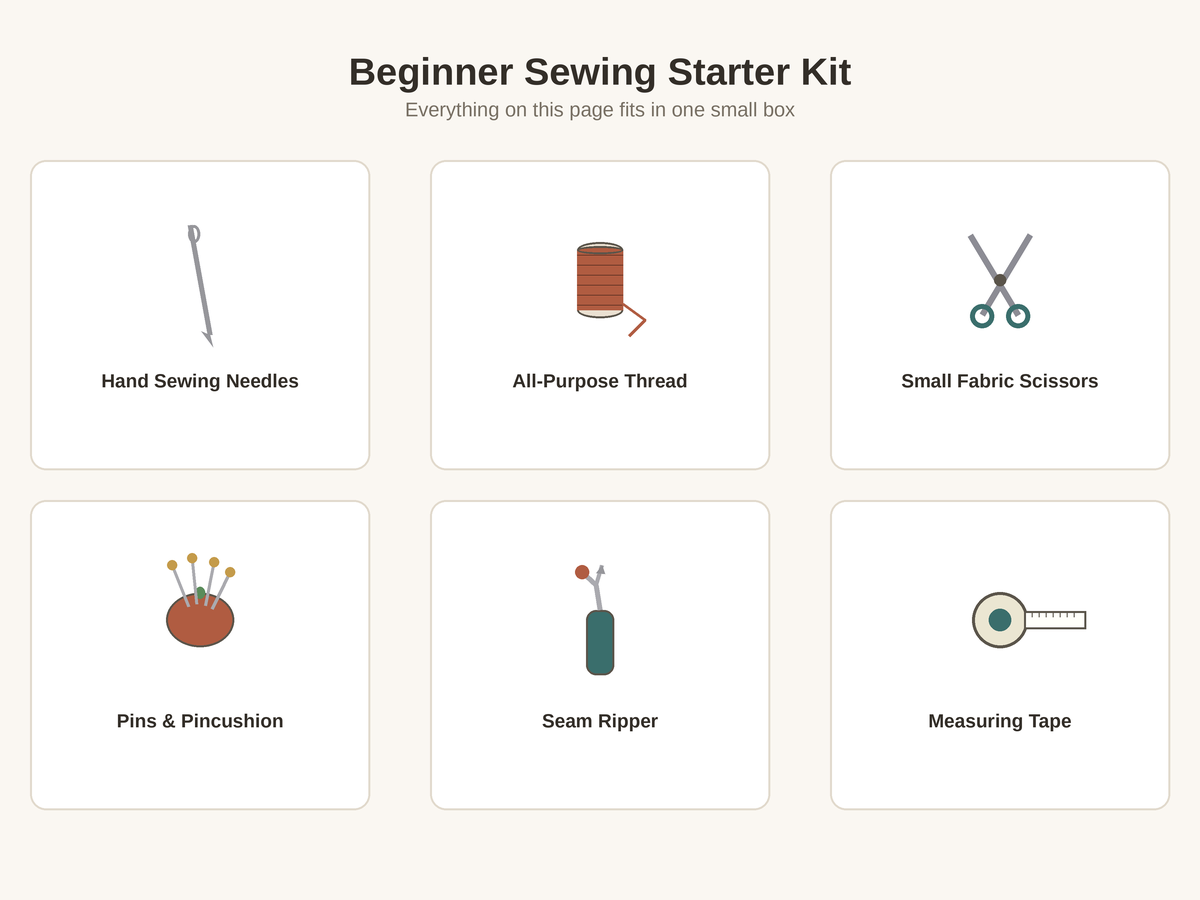
Hand sewing needles. You’ll want a small assorted pack rather than a single needle, since the right needle depends on the fabric and the repair. A pack labeled “sharps” or “assorted household needles” covers most everyday clothing repairs. How to Choose a Sewing Needle goes into which needle to grab for which job — for now, an assorted pack is all you need to buy.
Thread. All-purpose polyester thread handles the vast majority of clothing repairs, including most cotton, denim, and blended fabrics. Buy one or two neutral colors to start (black, white, or gray) plus any color that matches clothing you already plan to fix. How to Choose Thread for Clothing Repairs explains when a different thread type matters more.
Fabric scissors. Look for a small pair with 4- to 5-inch blades — long enough to cut cleanly through fabric, short enough to control for detail work like trimming close to a seam or snipping a thread. A pointed tip is more versatile than a blunt one, since you’ll sometimes need to get into a tight corner, but it also means being careful not to catch the fabric underneath what you’re cutting. The single most common mistake is using fabric scissors on paper “just this once” — paper dulls the blades fast, and dull scissors crush and fray fabric instead of cutting it cleanly. If you only own one pair, keep it fabric-only and use kitchen scissors or a utility knife for anything else.
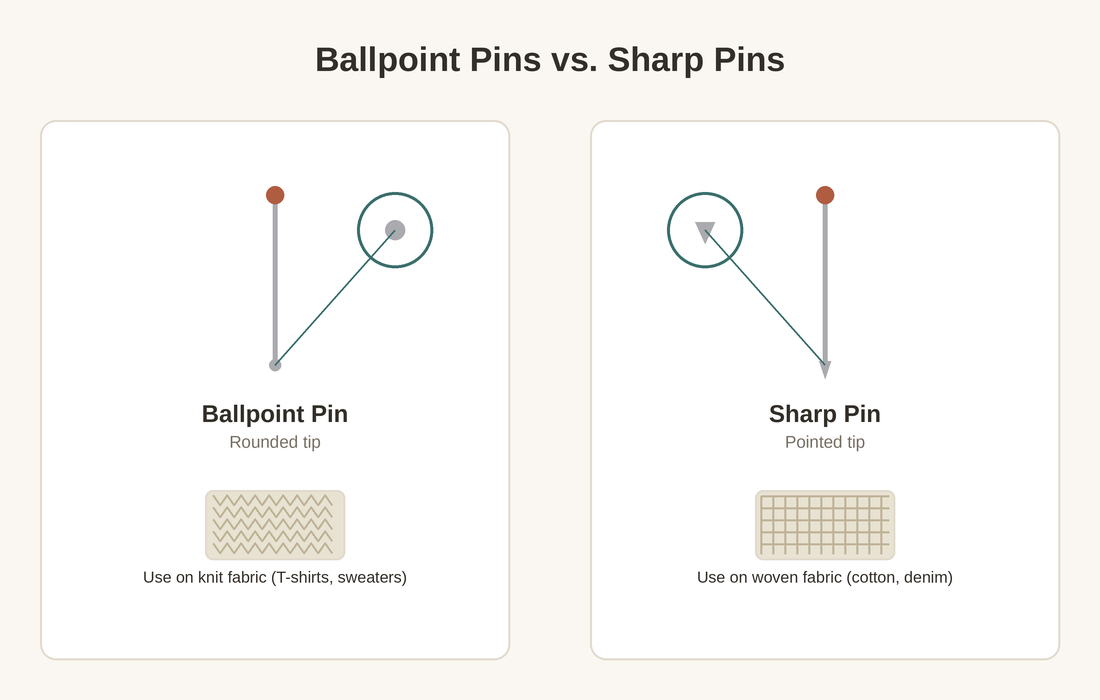
Straight pins and a pincushion. Pins hold fabric in place while you work — folding a hem, aligning a patch, or keeping a torn edge closed before you stitch it. Pin type actually matters here: regular sharp pins work fine on wovens like cotton or denim, but they can snag and distort knit fabrics like a T-shirt or sweater, where ballpoint pins (rounded rather than sharp at the tip) slide between the fibers instead of piercing them. Glass-head or metal-head pins can handle direct contact with a hot iron without melting, which matters for hemming, since plastic pin heads can melt onto fabric if you press over them. A common beginner mistake is under-pinning — using two or three pins on a long hem lets the fabric shift out of place while you sew, so it’s usually worth using more pins than feels necessary at first.
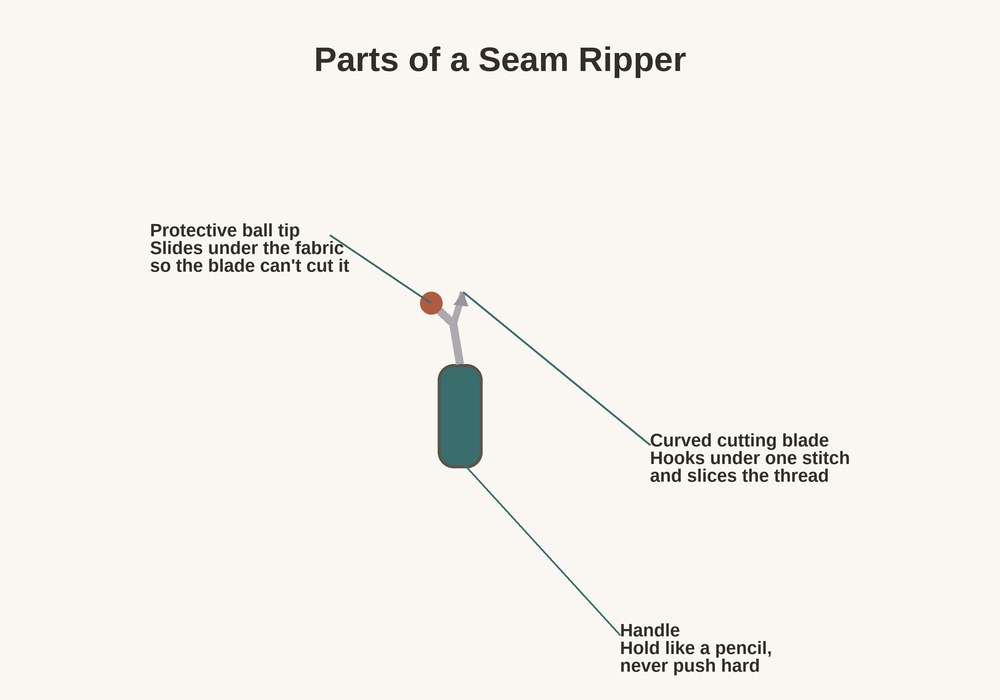
A seam ripper. This small tool removes stitching without cutting into the fabric underneath — useful for fixing a repair you got wrong, opening a seam to fix it properly, or removing an old button or patch. It looks simple but is easy to misuse if you’re not careful. How to Use a Seam Ripper Without Damaging Fabric covers how to use one safely.
A measuring tape. Use a flexible fabric or fiberglass measuring tape, not a rigid ruler or yardstick. Flexibility is the whole point: it needs to follow the curve of a pant leg for hemming, wrap around a sleeve, or measure the length of a tear that isn’t perfectly straight. Look for one marked clearly in inches with fraction lines (like eighths), since garment measurements are rarely round numbers. A rigid ruler can work for measuring something flat, like a patch you’re cutting, but it will give you an inaccurate hem length if the garment tapers or curves — a mistake that’s easy to make if a flexible tape isn’t on hand.
A thimble (optional, but worth trying). Pushing a needle through thick or multiple layers of fabric — a denim hem, a folded seam allowance, a patch over heavy canvas — can hurt your fingertip, and a thimble on your pushing finger (usually the middle finger) protects it. For light, single-layer repairs, like fixing a small hole in a T-shirt, you can usually skip it without any trouble. Fit matters more than most beginners expect: a thimble that’s too loose spins around or falls off, and one that’s too tight is uncomfortable enough that people give up on it after one try and assume thimbles “just don’t work” for them. If that happens, trying a different size before giving up entirely is worth it.
Quick Reference: What to Buy Now
| Tool | Needed Now? | Main Use | Beginner Note |
|---|---|---|---|
| Hand sewing needles | Yes | Push thread through fabric | Buy an assorted pack, not a single size |
| Thread | Yes | Holds the repair together | Start with one or two neutral colors |
| Fabric scissors | Yes | Cuts fabric and thread cleanly | Best reserved for fabric and thread — cutting paper can dull the blades faster |
| Straight pins + pincushion | Yes | Hold fabric in place before stitching | Ballpoint pins for knits, regular pins for wovens |
| Seam ripper | Yes | Removes stitching without cutting fabric | Easy to nick fabric if you rush |
| Measuring tape | Yes | Measuring hems, tears, and patches | Best for hems, curves, and body measurements — a rigid ruler still works for flat, straight measurements |
| Thimble | Optional | Protects your fingertip on thick fabric | Skip it for light, single-layer repairs |
| Rotary cutter and mat | No, skip for now | Cutting fabric for new garments | Not needed to repair clothes you already own |
| Embroidery hoop and floss | No, skip for now | Decorative embroidery stitching | Not a structural repair tool |
| Bias tape maker | No, skip for now | Finishing raw edges on garments made from scratch | A construction tool, not a repair tool |
What Beginners Don’t Need Yet
Pre-packaged “beginner sewing kits” often include a lot of items that make sense for garment construction or craft projects but don’t do much for someone repairing clothes at home. It’s fine to skip these until a specific project actually calls for them:
- A rotary cutter and cutting mat — useful for cutting fabric for new garments or quilting, not for repairing something you already own
- An embroidery hoop and embroidery floss — for decorative stitching, not structural repairs
- Bias tape or a bias tape maker — a construction tool for finishing raw edges on garments you’re making from scratch
- A full range of specialty needles (leather, embroidery, upholstery) — buy these individually later if a specific repair calls for them
- Fabric marking pens or chalk in multiple colors — one basic marking tool is enough until you’re doing more detailed work
- A dress form — genuinely useful for some sewing projects, not something a beginner repairing clothes needs
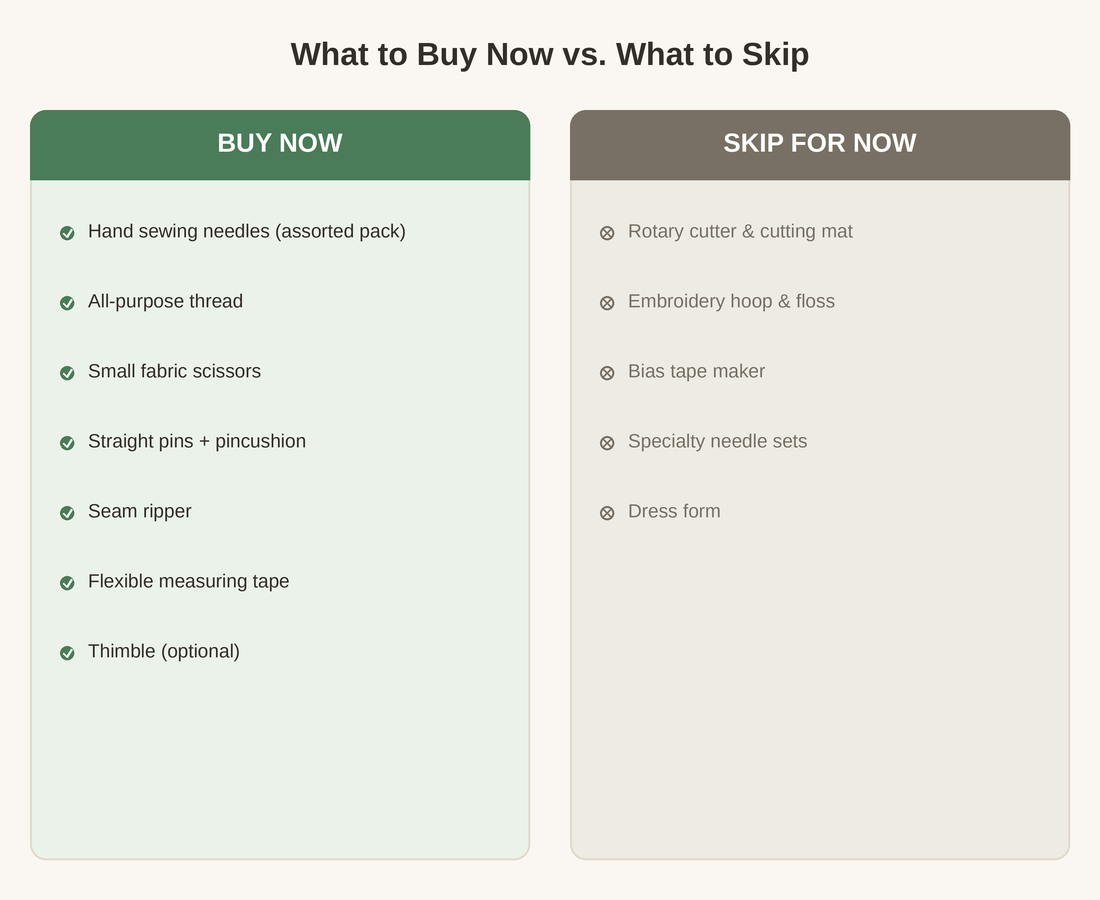
Buying a large kit up front can actually work against you: it’s harder to find the two or three tools you use constantly when they’re buried among a dozen you don’t.
Where to Buy Beginner Sewing Tools (and What to Avoid)
Fabric and craft stores carry individual tools as well as pre-packaged kits. Buying pieces separately doesn’t guarantee a lower price — that depends on the retailer and the kit — but it does let you put your money into the tools you’ll actually use often, like scissors and needles, instead of paying for a dozen extras that come bundled into a kit and never get touched. Pharmacies and general retailers often sell small “sewing kit” tins meant for travel or emergency repairs — they’re fine in a pinch, but the needles, thread, and scissors inside tend to be lower quality and not meant for regular use.
If you’re not sure where to spend a little more, scissors and needles are the two items worth prioritizing, since dull blades and bent or overly thick needles make almost every repair harder than it needs to be. Thread, pins, and a seam ripper can be perfectly inexpensive without causing problems.
Setting Up a Small Space to Sew In
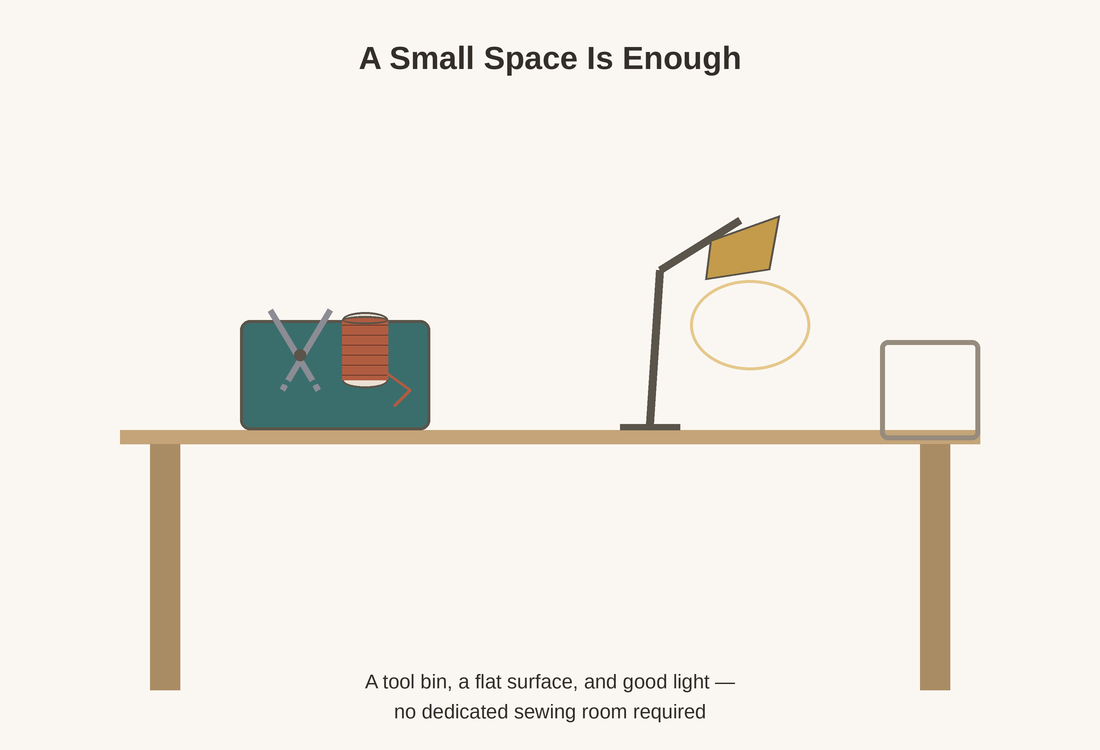
You don’t need a dedicated sewing room, or even a permanent table. A small bin, box, or zippered pouch to keep your tools together, a flat surface to work on (a table or a lap desk both work), and good light are really all that matter. Bright, direct light — natural daylight or a strong desk lamp — makes it much easier to see a needle’s eye, follow your stitch spacing, and catch a crooked line before it’s too late to fix easily.
What to Do With This Kit
Once you have these basics together, the next steps are picking the right needle and thread for your first repair, then learning how to thread a needle and secure your stitches so they don’t come loose. From there, sewing a button back on is usually the easiest real repair to start with — it uses almost every tool on this list and takes only a few minutes once you know the steps.