This is a reference guide, not a second setup or threading tutorial — if you haven’t gotten a machine safely set up and tested yet, How to Start Using a Sewing Machine: A First-Time Setup Guide covers that first, and the detailed logic of how thread actually moves through the machine step by step lives in How to Thread a Sewing Machine. What’s here instead is a straightforward look at the parts themselves: what they’re generally called, roughly where you’ll find them, and what each one actually does, so the vocabulary makes sense as you work through those guides or figure out what’s going on with a machine later. Exact names, shapes, and locations vary by manufacturer and model — this covers parts that show up in some form on most domestic machines, described in general terms rather than as a guide to any one specific machine.
The Big Picture
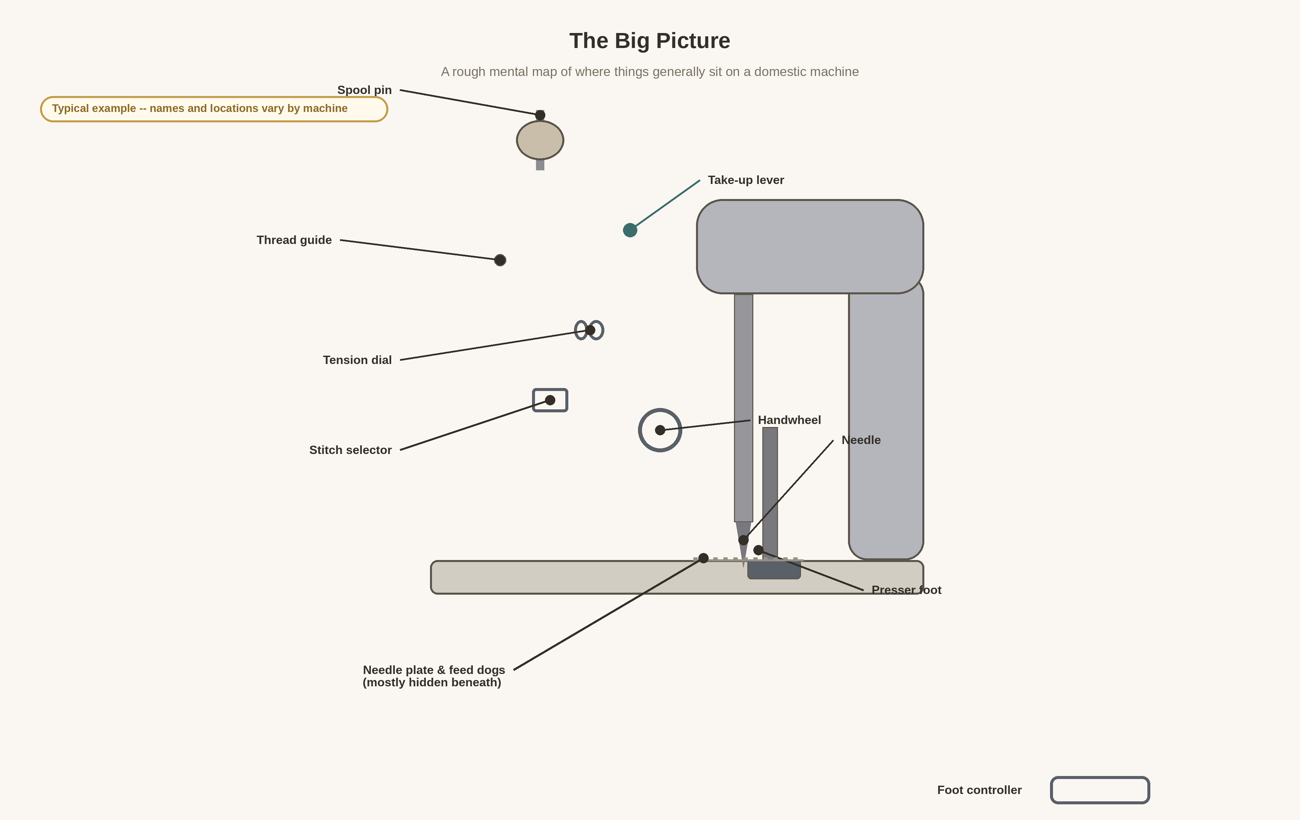
Before going part by part, it helps to have a rough mental map of where things generally sit. This is a typical layout, not a diagram of any specific model — your machine may place things differently, call them something else, or not have a particular feature at all.
Needle, Presser Foot, and Feed Dogs
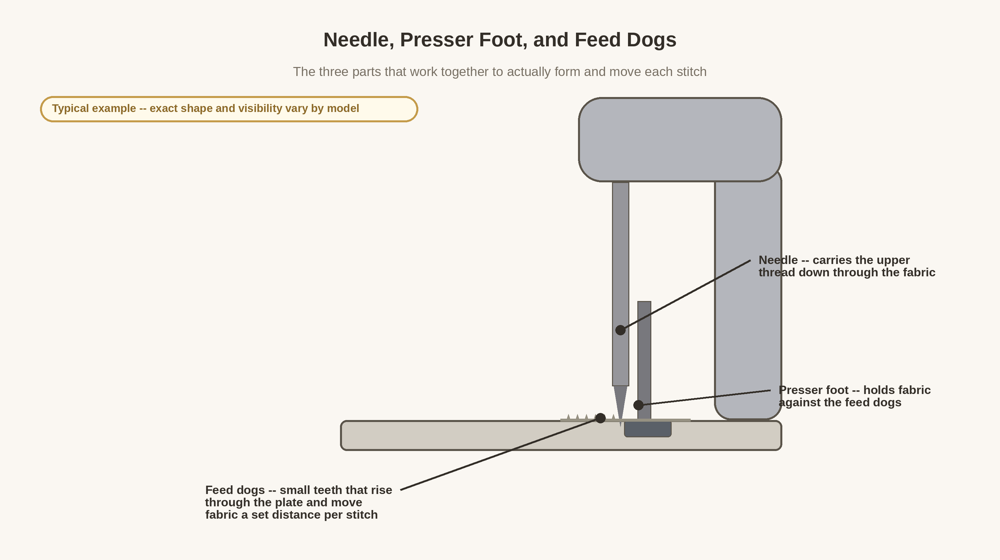
These three parts work together to actually form and move each stitch. The needle carries the upper thread down through the fabric and, together with the bobbin thread below, forms the stitch itself. The presser foot holds the fabric firmly against the feed dogs so it doesn’t shift or lift while the needle is working. The feed dogs are the small teeth that rise up through slots in the needle plate and move the fabric a set distance with each stitch, then drop back down out of the way — they’re what actually determines stitch length on many machines, working together with whatever stitch-length control the machine has.
Spool Pin, Thread Guide, Tension Dial, and Take-Up Lever
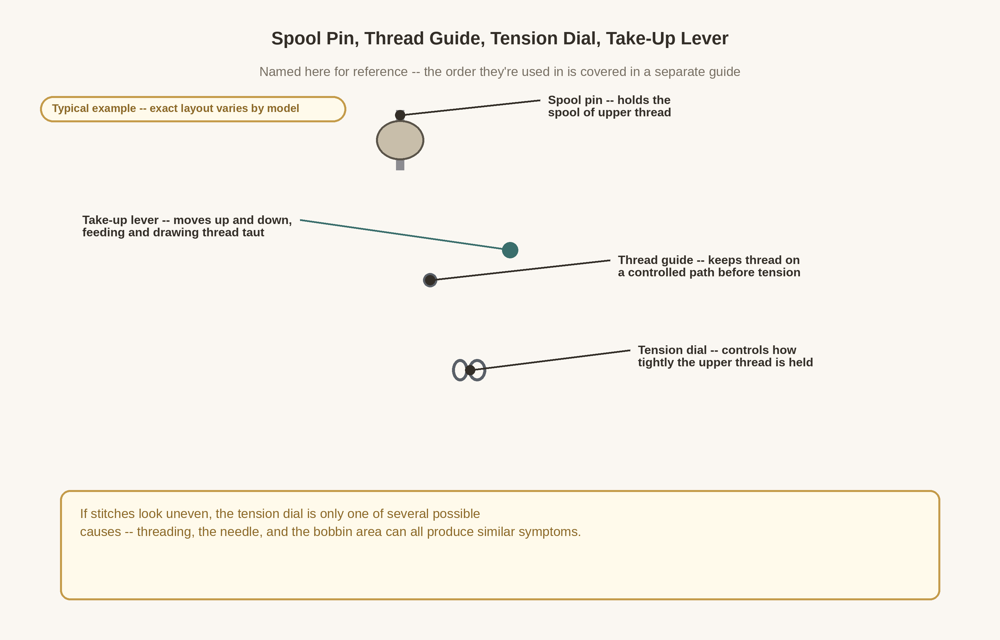
These are named here for reference rather than walked through in the order they’re used — that logic, including why the order matters, is covered in the threading guide linked above. The spool pin simply holds the spool of upper thread, horizontal or vertical depending on the machine. A thread guide is any small fixed point — a hook, a loop, a slot — that keeps thread moving along a controlled path rather than flopping loose; most machines have more than one. The tension dial controls how tightly the upper thread is held as it feeds, which affects how the top and bottom threads balance against each other in the finished stitch. The take-up lever is the part that moves up and down with each stitch, feeding slack thread out and then drawing it taut again.
It’s worth being cautious about one thing here: if stitches look uneven or loose, it’s tempting to reach for the tension dial first, but tension is only one of several things that can cause that. Threading itself, the needle, and the bobbin area can all produce similar-looking symptoms, so treating tension as the first and only suspect can send troubleshooting in the wrong direction.
The Bobbin Area
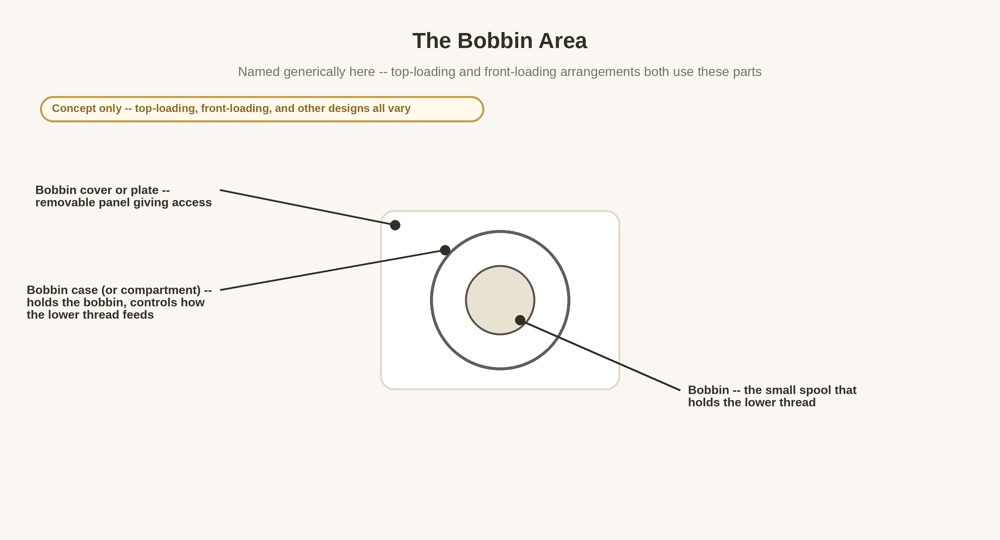
The bobbin is the small spool that holds the lower thread. It sits inside a bobbin case or bobbin compartment, which holds it in place and controls how the lower thread feeds as the machine stitches — top-loading and front-loading are two common arrangements for this, but plenty of machines vary from either. A bobbin cover or plate is the removable panel that gives access to this area, whether that means lifting a plate from above or opening a small door at the front.
Controls You’ll Use Most
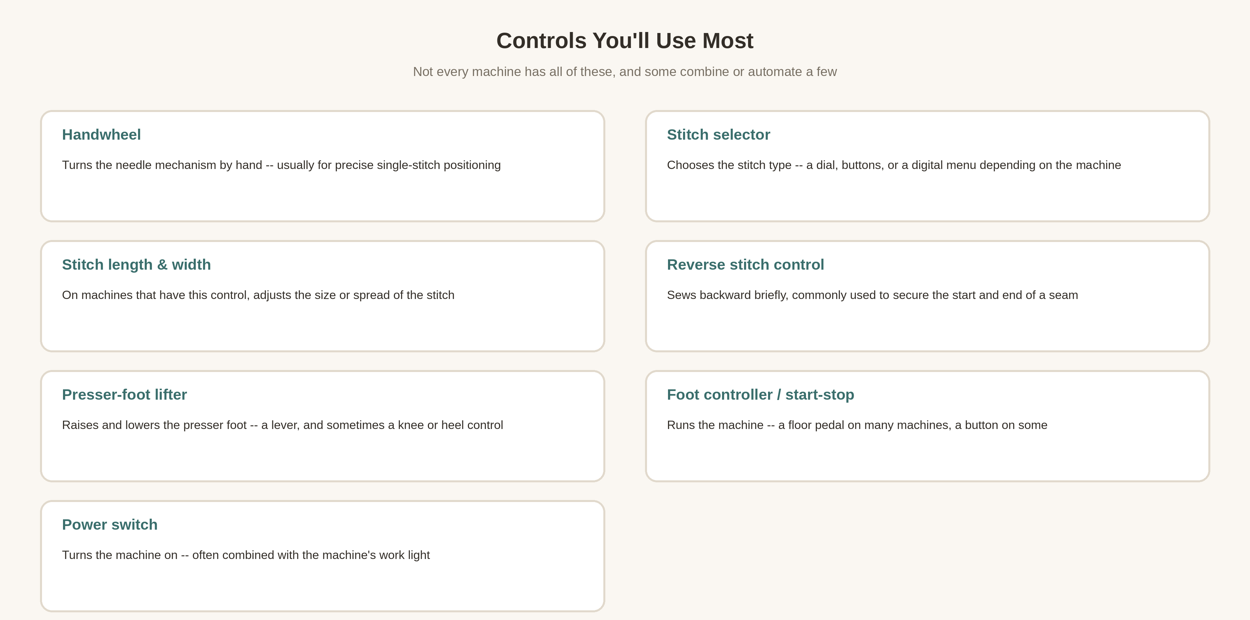
Not every machine has all of these, and some combine or automate a few: a handwheel that turns the needle mechanism by hand, useful for precise single-stitch positioning; a stitch selector that chooses the stitch type, whether that’s a dial, a row of buttons, or a digital menu; a stitch length and width control, on machines that have one, for adjusting the size or spread of the stitch; a reverse stitch control for sewing backward briefly, commonly used to secure the start and end of a seam; a presser-foot lifter — usually a lever, though some machines add a knee or heel control — for raising and lowering the presser foot; a foot controller or start-stop control that actually runs the machine, a floor pedal on many machines and a button on some; and a power switch that turns the machine on, often combined with its work light.
Quick Reference
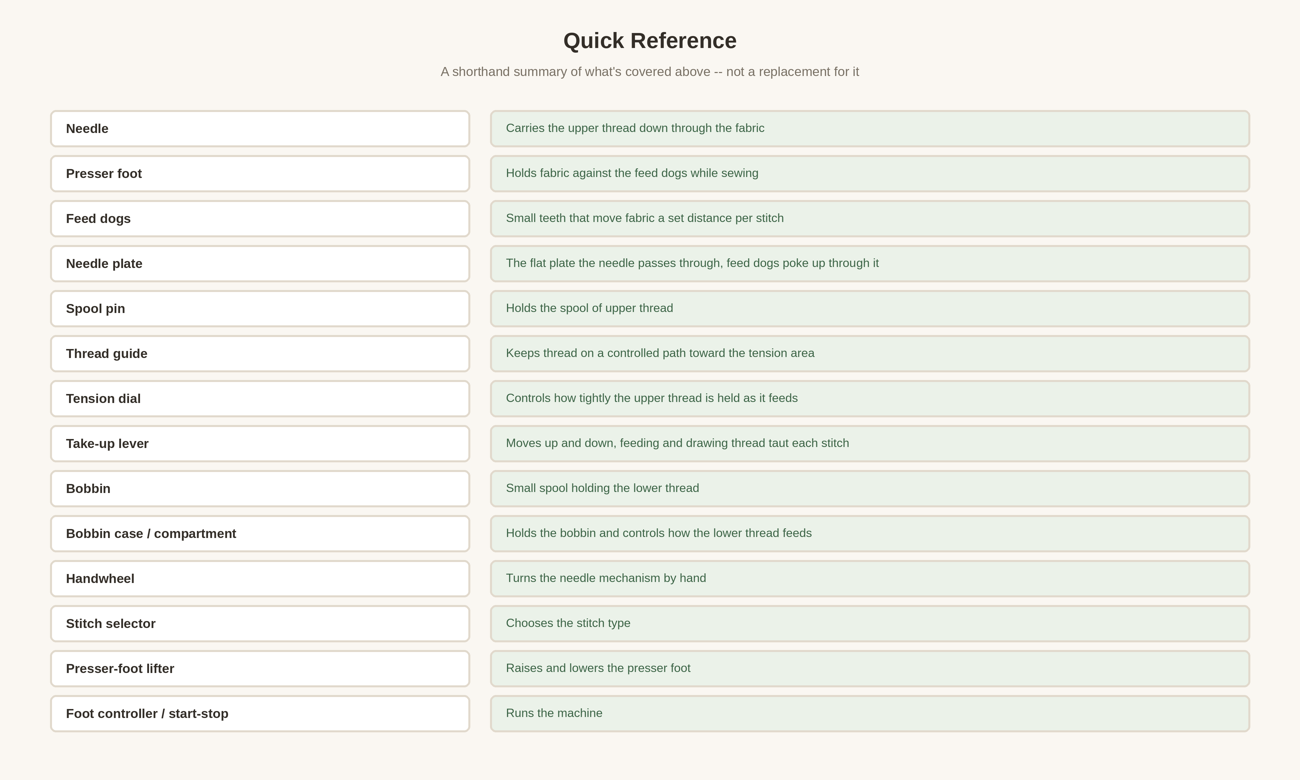
The table above pulls all of this together for a quick look back the next time you need it — a shorthand version of what’s covered above, not a replacement for it.
Putting the Vocabulary to Use
Together with the groundwork in How to Start Using a Sewing Machine: A First-Time Setup Guide and the detailed threading logic in How to Thread a Sewing Machine, this should give you enough of a shared vocabulary to make sense of both — and to describe what’s going on if you ever need to ask someone else for help. Diagnosing a machine that’s jamming or behaving unpredictably while it sews draws on these same parts but is its own, more involved topic.