Threading a sewing machine correctly matters more than almost any other first step — a machine that isn’t properly threaded won’t stitch reliably no matter how careful everything else is. This article explains the logic behind how threading generally works, so the steps make sense rather than feeling arbitrary, while being upfront that the exact path, direction, and mechanism on your specific machine will differ from any single description. There’s no version of “every sewing machine threads like this” that’s actually true — your machine’s manual is the authority on the specifics.
The Logic of an Upper-Thread Path
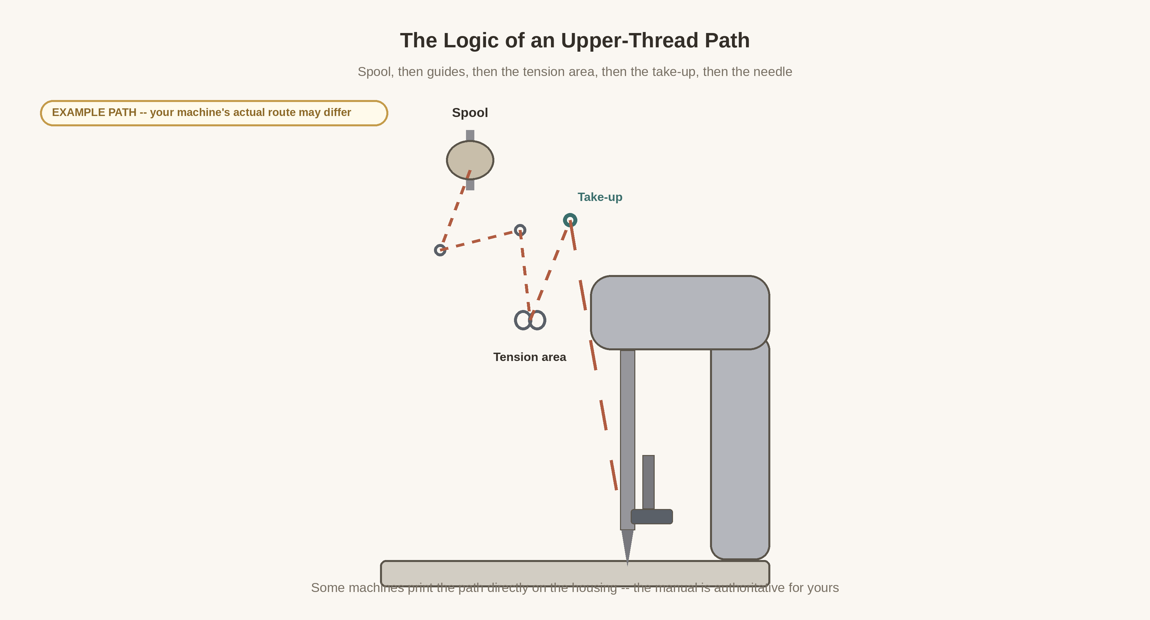
Broadly, upper threading follows a logical sequence: thread comes off the spool, passes through one or more guide points that keep it on a controlled path, runs through a tension area that controls how tightly it’s held, goes up and through a take-up mechanism, and finally threads through the needle. That sequence — spool, then guides, then tension, then take-up, then needle — is a useful mental model. The exact routing, the number of guides, and the specific direction thread travels at each point vary by machine. Some machines print the path directly on the housing as a diagram or a series of numbers; where that’s the case, it’s a genuinely reliable guide for that specific machine. Where it isn’t, the manual is what to follow.
The Tension Area
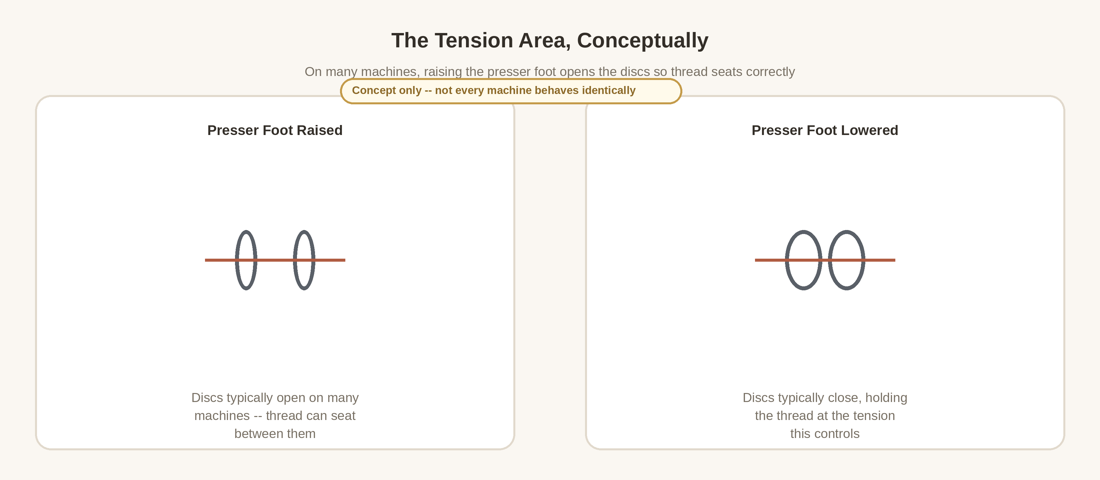
On many machines, raising the presser foot opens the tension discs so thread can seat between them properly during threading, and lowering the foot closes them to hold the thread at whatever tension is set. This is a common pattern, not something true of every machine — some tension systems work differently, and a few are largely automatic. If your thread doesn’t feel like it’s seated correctly in this area, checking whether the presser foot is in the right position for threading (per your manual) is a reasonable first thing to check.
Why the Take-Up Point Matters
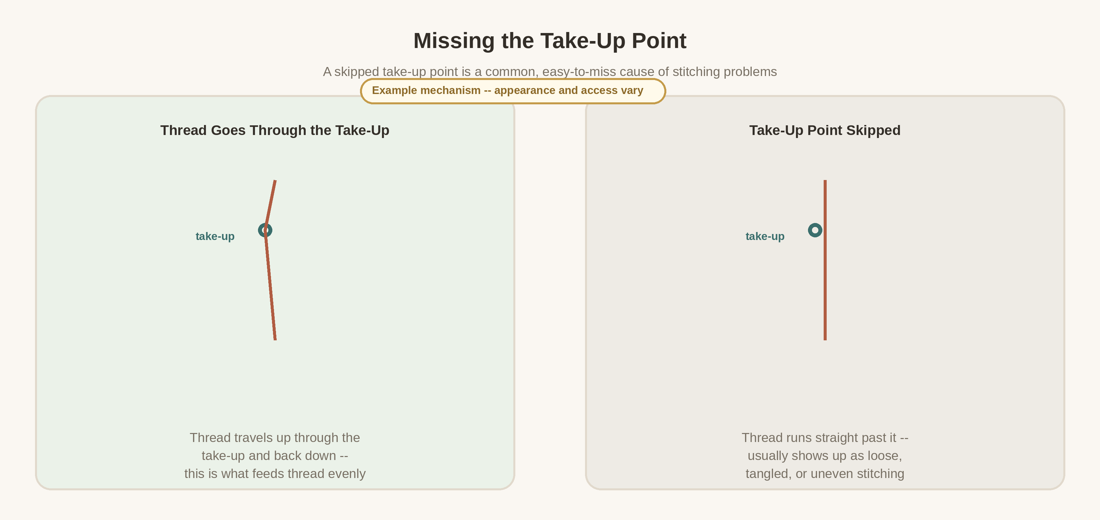
The take-up is the point where thread travels up and then back down again before heading to the needle, and it’s one of the easiest points to accidentally skip, since it’s not always the most obvious part of the path. Missing it doesn’t stop the machine from running, but it usually shows up as loose, tangled, or uneven stitching once you actually start sewing, because the thread isn’t being fed and released the way the machine expects. Not every take-up mechanism looks the same or is equally easy to see — some are more exposed than others — so if stitching looks off after threading, this is one of the first places worth rechecking.
Threading the Needle: Direction Isn’t Universal
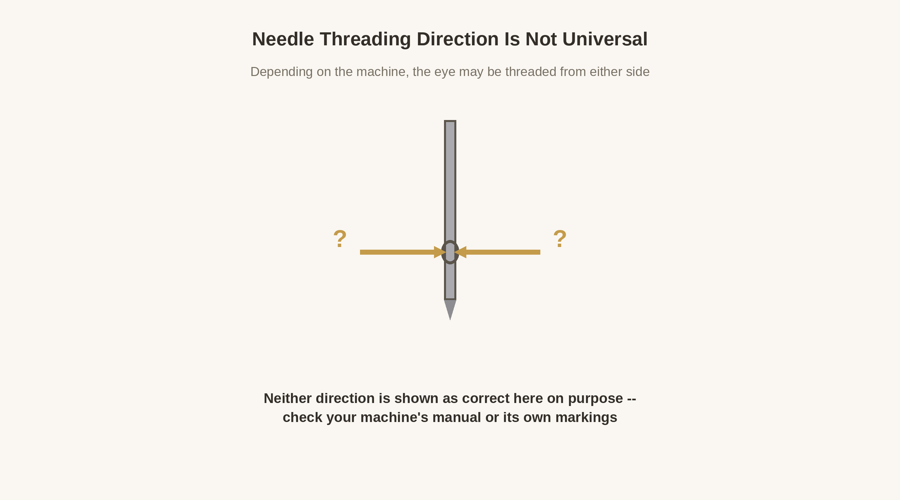
This is worth being especially careful about: needles are not universally threaded front-to-back. Depending on the machine, the eye may be threaded from one side or the other, and guessing based on a different machine you’ve used before can lead to a needle that looks threaded but isn’t seated the way that machine actually needs. Check your manual or any markings on the machine itself for the correct direction on your specific model rather than assuming.
Winding, Inserting, and Bringing Up the Bobbin Thread
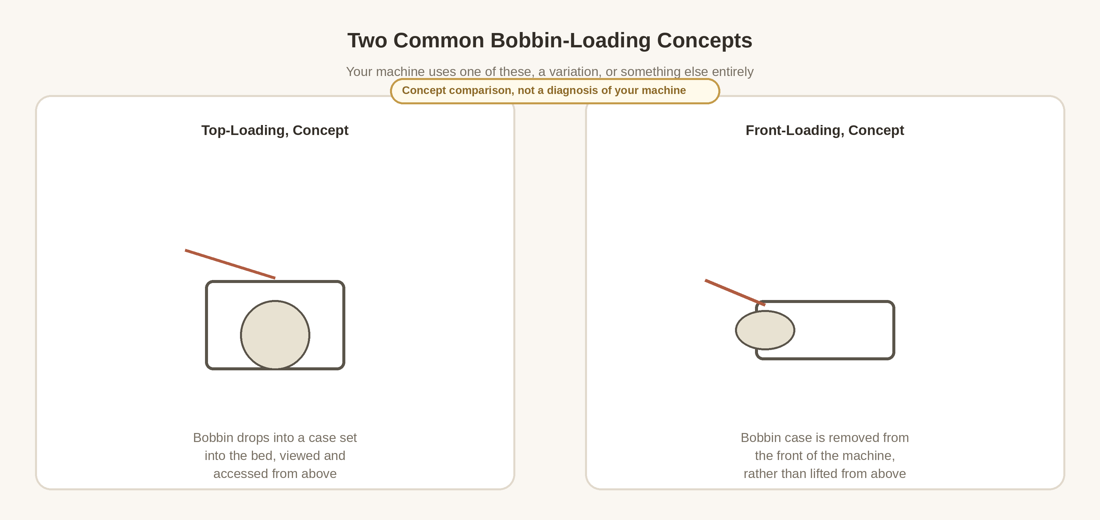
These are three separate steps worth keeping distinct: winding thread onto an empty bobbin, inserting the wound bobbin into the machine, and, on machines that require it, bringing the bobbin thread up through the needle plate so both threads are in hand before you start sewing. Top-loading and front-loading are two common bobbin arrangements, but plenty of machines vary from either concept, and modern designs don’t all handle this the same way — neither approach is inherently easier or better, just different. The insertion direction and the thread path within the bobbin area are both specific to your machine, so this is another point where checking the manual saves you from a bobbin that’s technically in place but feeding thread incorrectly.
If Something Doesn’t Seem Right
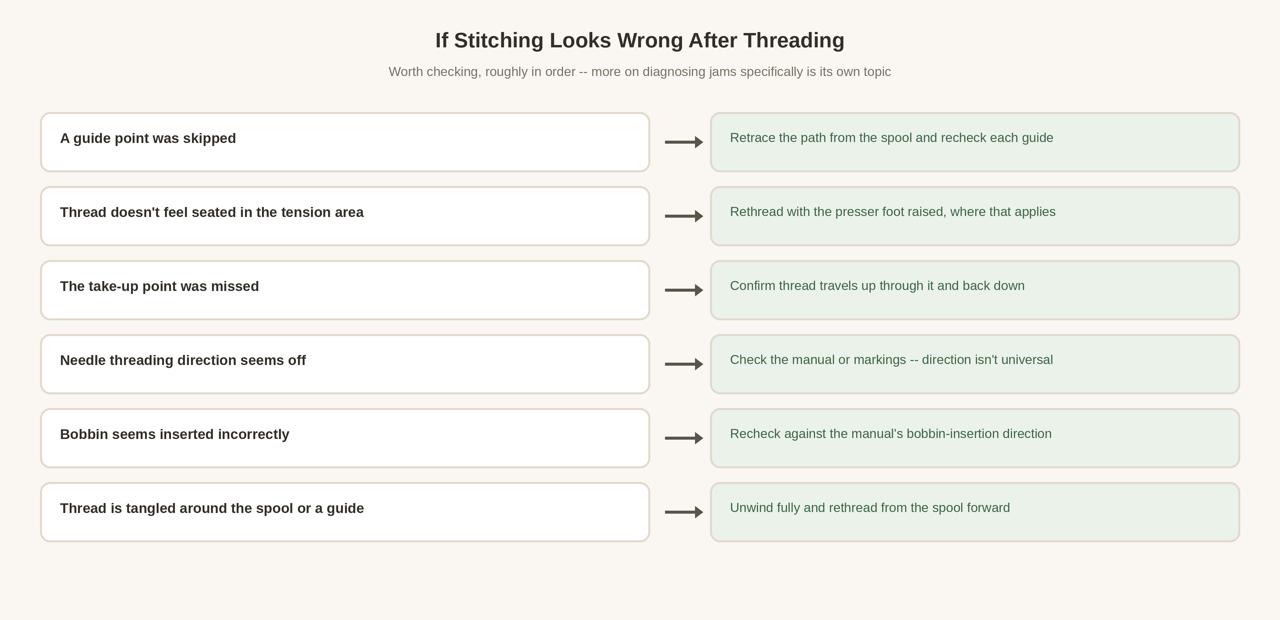
If stitching looks wrong after threading, a few things are worth rechecking before assuming something’s broken: a skipped guide point, thread that doesn’t feel properly seated in the tension area, a missed take-up point, needle threading direction, how the bobbin is inserted, and thread that’s tangled around the spool or a guide. Working through threading itself first, in that rough order, is generally more productive than jumping straight to changing settings. Diagnosing a machine that’s actively jamming or bunching thread while running is its own, more involved topic.
Before You Thread
If you haven’t already gotten the machine itself set up and checked — a stable workspace, a look at the cord and controls, and a first safe test on scrap fabric — How to Start Using a Sewing Machine: A First-Time Setup Guide covers that groundwork, and it’s worth having in place before working through threading in detail. If any of the terms used here — tension dial, take-up lever, bobbin case — aren’t already familiar, Sewing Machine Parts and What They Do covers what each one is called and does.