If a sewing machine has been sitting unused — new, inherited, or just unfamiliar — this is about getting from that starting point to a safe, controlled first test on scrap fabric. It covers setting up the space around the machine, what to check before switching it on, and how to handle that first test safely. It’s deliberately not the whole story: it doesn’t walk through the detailed threading path, it isn’t a reference guide to every part, and it isn’t structured practice for sewing a straight line — those are each worth their own focused guide, and trying to cover all of it here would make this one harder to actually use.
Setting Up a Workspace
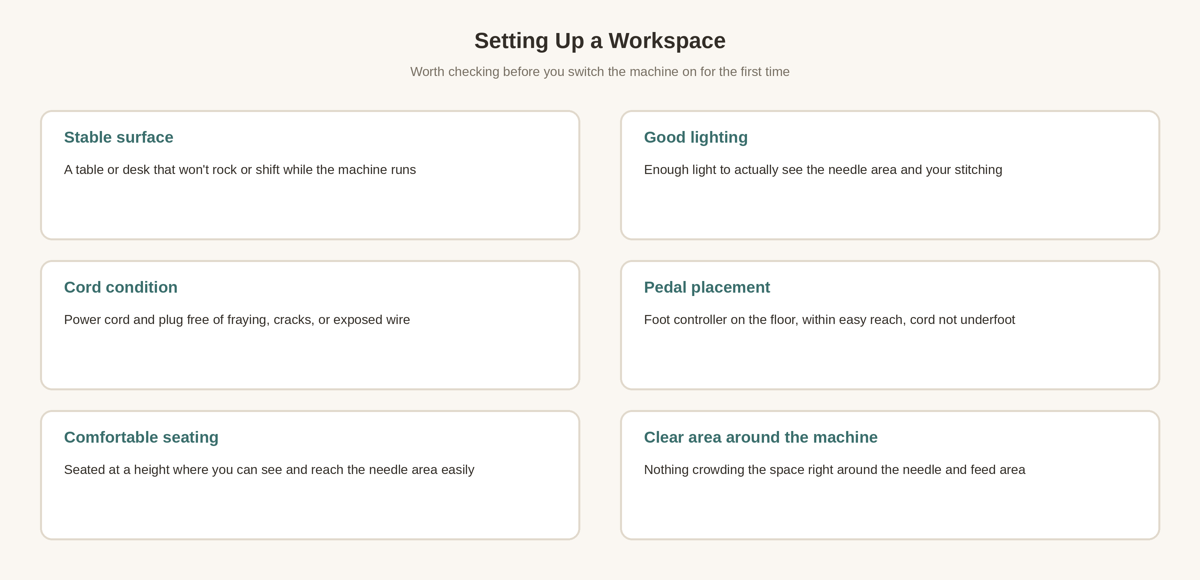
A few things about the space itself are worth checking before anything else: a stable surface that won’t rock or shift while the machine runs, enough light to actually see the needle area and your stitching, a power cord and plug that look intact, a foot controller placed within easy reach with its cord out from underfoot where your machine uses one, a seated position where you can see and reach the needle area comfortably, and a clear area immediately around the machine rather than clutter crowding the needle and feed area. If the cord, plug, foot controller, or the machine itself looks damaged — frayed, cracked, or otherwise not right — that’s worth treating as a reason to have it looked at by someone qualified or the manufacturer rather than something to open up or work around yourself.
Find the Manual for Your Specific Machine
This is worth taking seriously rather than skipping: sewing machines vary a genuinely large amount between manufacturers and models — mechanical versus computerized, top-loading versus front-loading bobbins, horizontal versus vertical spool pins, automatic versus manual needle threading, and different control layouts, bobbin-winding systems, tension systems, and presser-foot systems. The threading path, bobbin placement, control layout, how the presser foot attaches, how you access it for maintenance, and the warnings that matter all depend on the specific machine you have. Locating the manual for your exact model — printed, in a drawer, or as a PDF from the manufacturer’s site — is one of the most useful things you can do before starting, and it’s worth doing now rather than only when something seems to go wrong.
Before You Switch It On
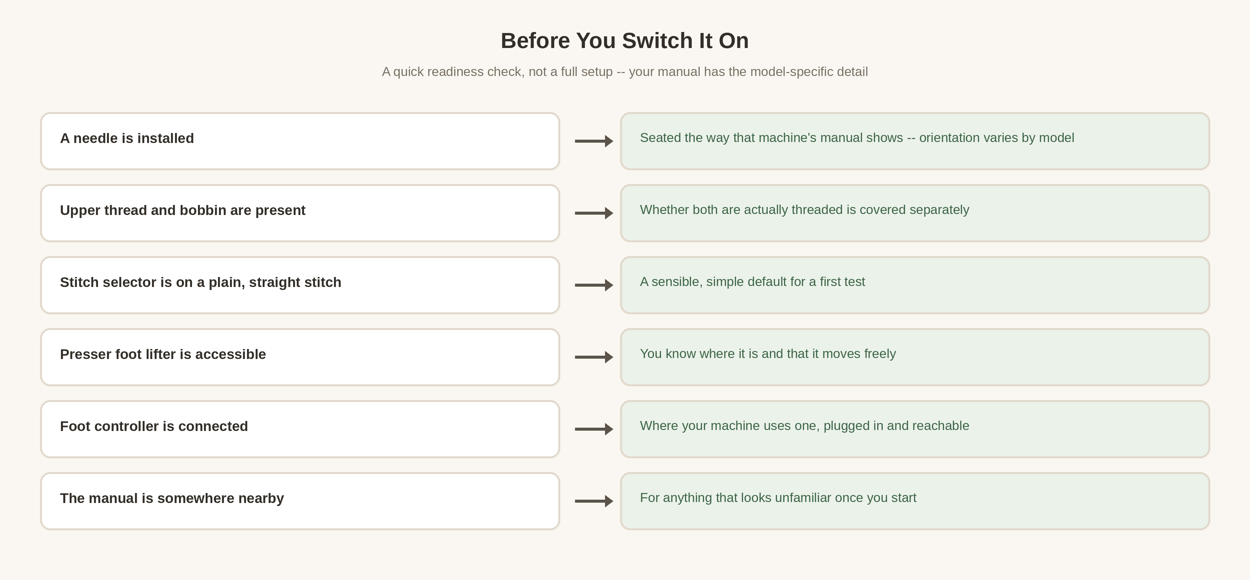
Without going through the full detail of any one of these, it’s worth getting a general sense of what you’re looking at: a needle installed the way your machine’s manual shows (orientation depends on the machine, so this isn’t something to guess at), a presser foot, an upper thread path, a bobbin, a handwheel, a stitch selector, a presser-foot lifter, and a foot controller or start/stop control depending on the machine. The machine generally needs to be correctly threaded, with both the upper thread and a wound bobbin in place, before normal sewing — the detailed threading path is its own topic, covered in How to Thread a Sewing Machine, rather than compressed into a paragraph here.
On many domestic machines, a manual explains turning the handwheel toward the operator for certain adjustments — but that’s a common pattern, not a rule true of every machine, and it’s worth checking your own manual rather than assuming.
Basic Safety Before You Start
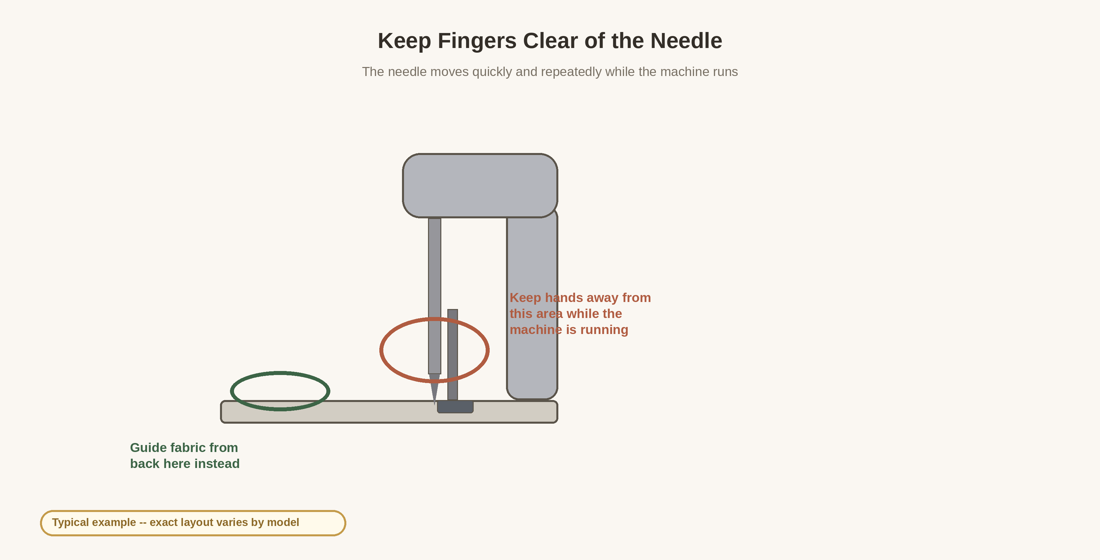
Keep fingers away from the immediate area around the needle while the machine is running — it moves quickly and repeatedly, and guiding fabric from further back gives you plenty of control without your hands needing to be anywhere near it. Turn the machine off, and unplug it where that makes sense, before changing the needle, reaching into any area where the machine could accidentally operate, or doing certain cleaning or maintenance tasks — your manual will say which. There’s no single universal rule for which direction a needle’s flat side should face; that depends on the specific machine, so it’s worth checking rather than assuming it’s the same as a machine you’ve used before.
Presser Foot Up vs. Down
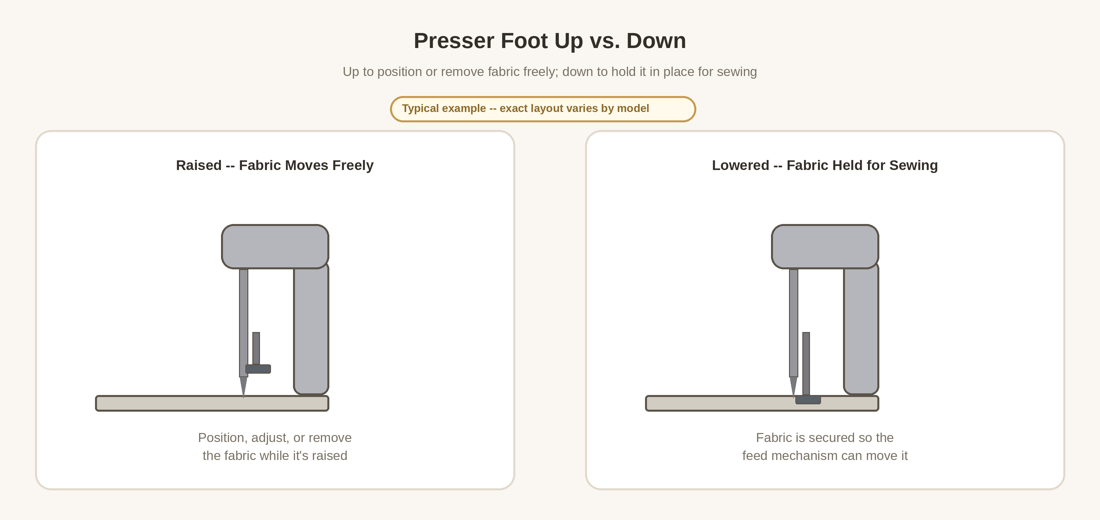
Raised, the presser foot lets you freely position or remove fabric. Lowered, it holds the fabric against the feed mechanism so the machine can move it evenly as you sew. Getting in the habit of checking which state it’s in before you start — and lowering it before you actually begin stitching — avoids a common early mistake where the fabric doesn’t feed properly because the foot was never brought down.
Guide the Fabric — Don’t Pull It
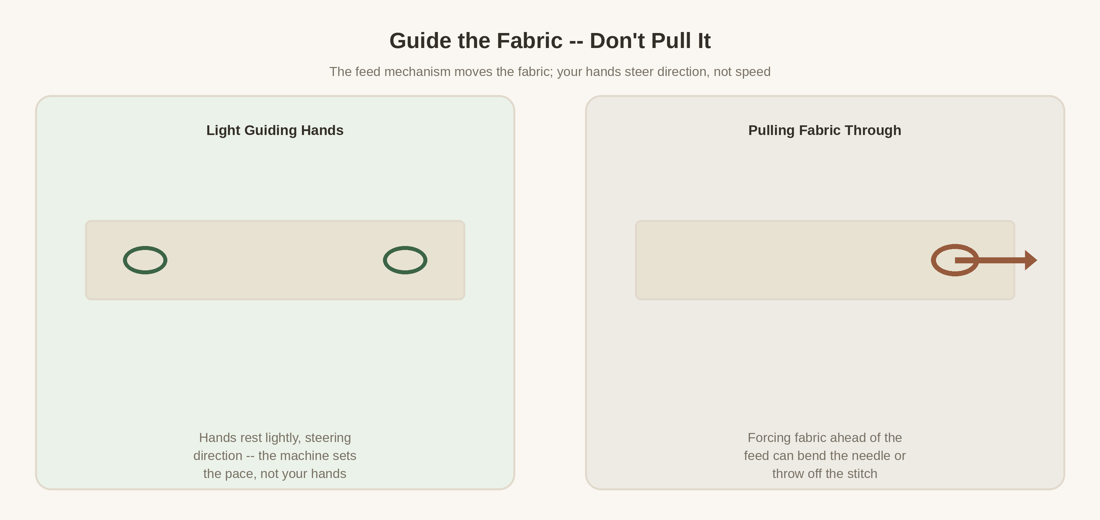
Once the machine is running, its own feed mechanism is what actually moves the fabric through — your hands are there to guide direction, not to set the pace. Resting your hands lightly on the fabric and steering rather than pulling it forward keeps the stitch even and reduces the risk of a bent needle or a skipped stitch. Pulling fabric ahead of what the feed mechanism is doing fights against the machine rather than working with it.
A First Test on Scrap Fabric
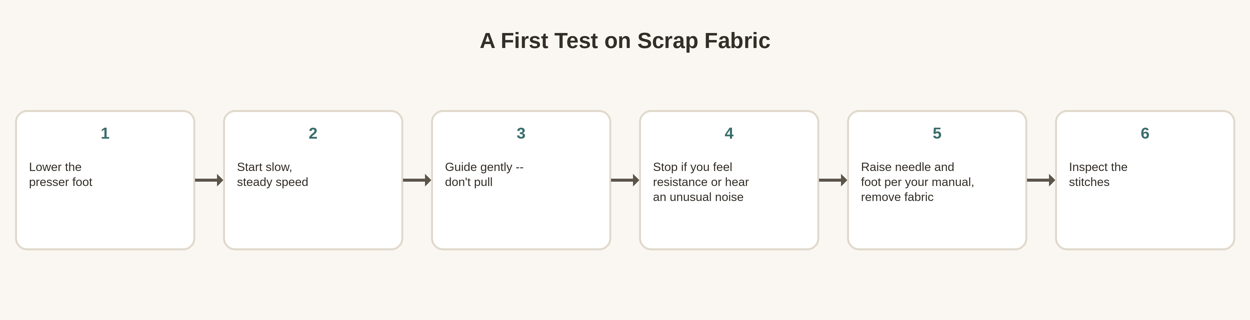
Use a scrap of ordinary, manageable fabric rather than anything you care about for this first test. Lower the presser foot, start at a slow, steady speed, and guide the fabric gently rather than pulling it. If you feel real resistance or hear a noise that doesn’t seem right, stop rather than continuing to see what happens. When you’re done, raise the needle and presser foot the way your manual describes and remove the fabric, then take a look at the stitches themselves — even, consistent spacing is a reasonable thing to check for on a first attempt.
What Success Looks Like for a First Session
The goal here isn’t a perfect seam. By the end of a first session, being able to start the machine safely, control its speed, guide scrap fabric through a straight run, stop when you need to, raise the needle and presser foot appropriately, remove the fabric following your machine’s procedure, and take a real look at the resulting stitches is a genuinely solid outcome. Everything more specific — the actual threading path, what each part does in more depth, and deliberate practice at sewing a straight line — builds on this first, safe session rather than needing to happen within it. If you’re still weighing whether a machine is the right tool for a given repair in the first place, Hand Sewing vs. Machine Sewing: Which Should You Use for a Repair? covers that decision.