This isn’t a general laundry guide — it’s specifically about washing and drying clothes in a way that’s mindful of a mended area: a patch, a repaired seam, or reinforcing stitches. Reading the garment’s care label is still the starting point for any wash (How to Read Basic Clothing Care Labels covers that), but a repaired area can add its own considerations on top of what the label says, and those are what this article focuses on.
Why a Mended Area Can Need Extra Thought
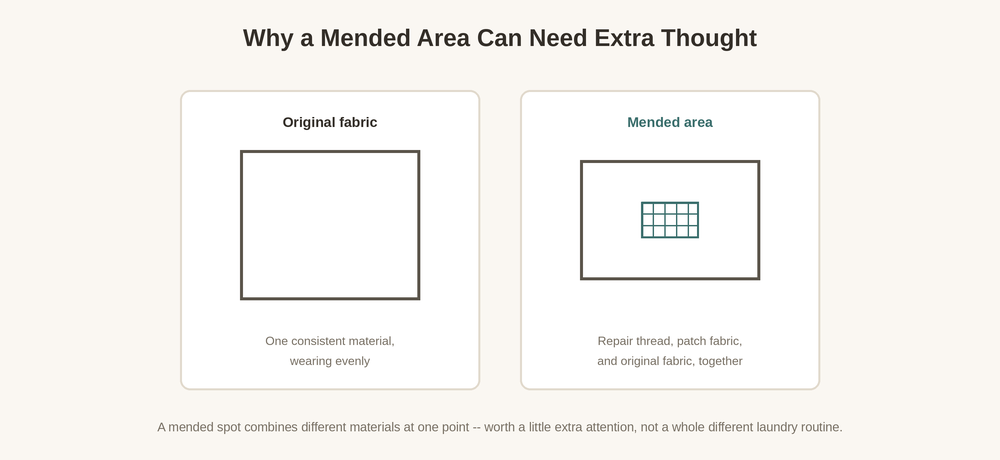
A repaired spot isn’t quite the same as the rest of the garment — it’s the original fabric plus repair thread, and sometimes patch fabric, all meeting at one point. That combination doesn’t necessarily behave identically to the surrounding fabric under the same washing conditions. The care label still reflects the garment as a whole and remains the primary instruction; it’s just worth also considering whether the repair material itself has its own reasonable limits, particularly if it’s a different fiber than the original fabric. There’s no universal formula for reconciling the two — when in doubt, treating the more delicate of the two materials as the limiting factor is a reasonably cautious approach.
A Quick Look Before Washing
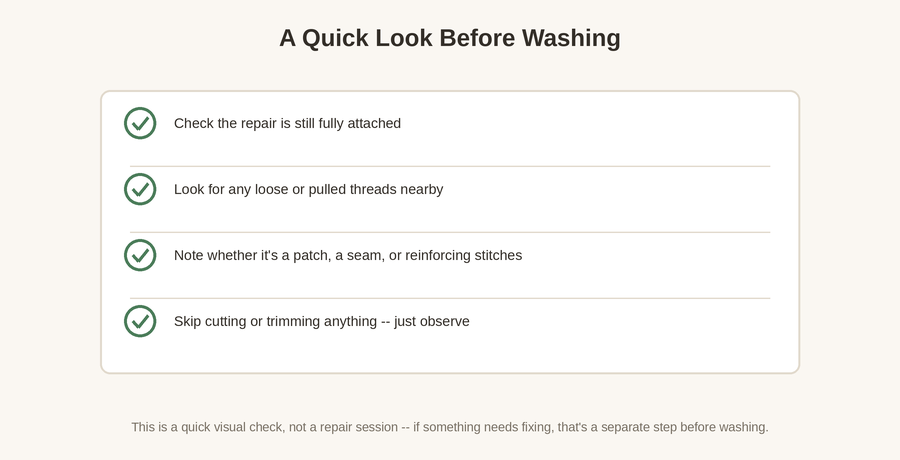
Before a repaired item goes into the wash, a quick look at the repair itself is worth the extra minute — checking that it’s still fully attached, noticing any threads that already look loose nearby, and simply registering what kind of repair it is. This is meant as a quick visual check, not an opportunity to trim or cut anything — if something looks like it needs fixing, that’s worth addressing as its own step before washing, not something to resolve by cutting into the repair itself.
Reducing Mechanical Stress
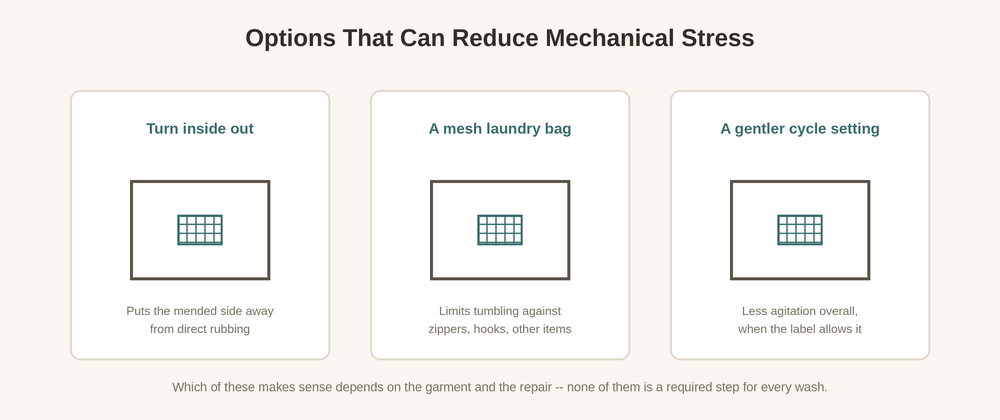
Washing machines agitate and tumble clothing, and that mechanical action is part of what stresses a repair over repeated washes. A few options can reduce that stress somewhat — turning the item inside out so the mended side faces away from direct rubbing, using a mesh laundry bag to limit contact with zippers and other hardware, or choosing a gentler cycle when the care label allows it. None of these is a required step for every wash of every repaired item; they’re options worth considering particularly for a repair you’d rather not redo soon, or for a more delicate garment generally.
Water Temperature: Several Factors, Not One Rule
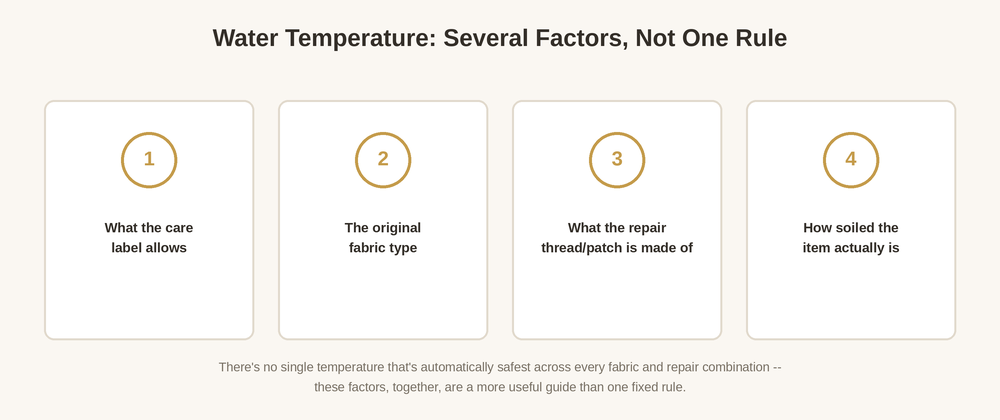
It’s tempting to look for one blanket rule here — something like “cold water is always safest” — but that’s not really accurate across every situation. What the care label allows, what the original fabric is, what the repair thread or patch material is made of, and how soiled the item actually is all factor into a reasonable temperature choice, and they don’t always point in the same direction. Weighing those together for the specific garment in front of you is a more useful approach than applying one fixed rule to everything you own.
Drying: A Few Things Worth Weighing
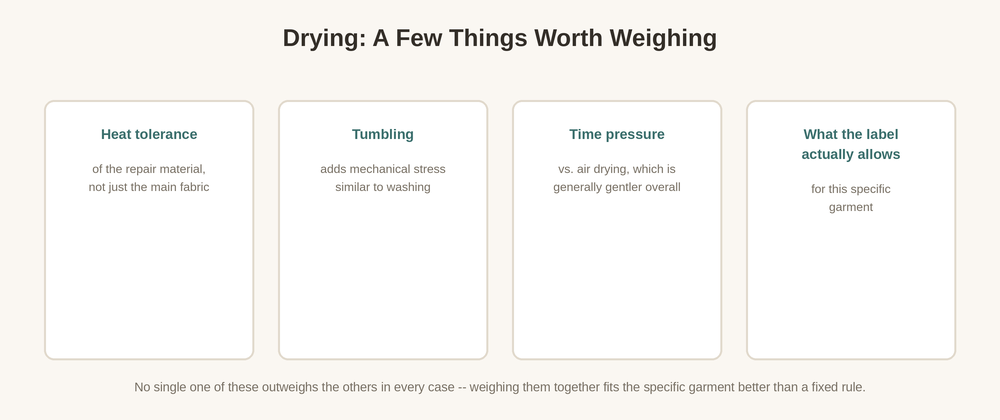
Drying deserves similar thought. The repair material’s own heat tolerance matters, not just the main fabric’s — a patch or thread that handles heat differently than the surrounding fabric is worth considering on its own terms. Tumble drying adds mechanical stress in a similar way to washing, which is a relevant factor for a repair you’re hoping holds up. Air drying is generally gentler overall, though it takes longer, which is its own kind of trade-off against time pressure. And as always, what the garment’s care label actually allows for that specific item is part of the picture. No one of these factors automatically outweighs the others — which one matters most depends on the garment and the repair.
Patches and Seams Specifically
A sewn-on patch is generally more exposed to mechanical stress during washing than stitching alone, since it’s an added layer with its own edges that can catch or shift — How to Sew a Patch Onto Clothing covers how to attach one well in the first place, which is the foundation for how it holds up afterward, though no attachment method can promise a specific number of washes. A repaired seam, meanwhile, is already a point where fabric was reopened and rejoined, so unusual pulling or twisting during washing is worth avoiding where practical; How to Repair a Torn Seam covers the repair itself in detail and isn’t repeated here.
A Quick Look After Washing
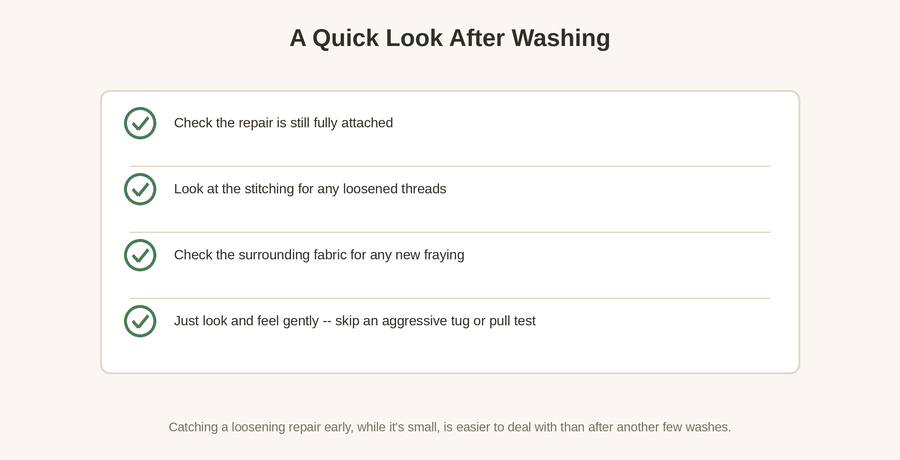
Once the item is washed and dry, a similar quick check is worth doing: is the repair still fully attached, does the stitching show any newly loosened threads, is there any new fraying in the fabric around it. This is meant to be a gentle look-and-feel, not a strength test — pulling hard on a repair to see whether it holds isn’t a reliable way to test it, and it risks damaging a repair that was otherwise fine. Catching a repair that’s starting to loosen while it’s still minor is easier to deal with than after several more washes have made it worse.
Protecting repairs during washing is really just one piece of a bigger picture — How to Make Clothes Last Longer: Everyday Habits That Prevent Damage covers the broader set of everyday habits this article’s approach fits into.