A hem that’s come loose is a different problem from a hem that needs to be created in the first place. If you’re shortening pants or establishing a new hem length, How to Hem Pants by Hand covers planning, measuring, and cutting. This article is about the other situation: a garment that already had a finished hem, and some or all of that stitching has failed — whether it’s a small loose section, several inches hanging down, or the whole hem undone.
What’s Actually Wrong With the Hem?
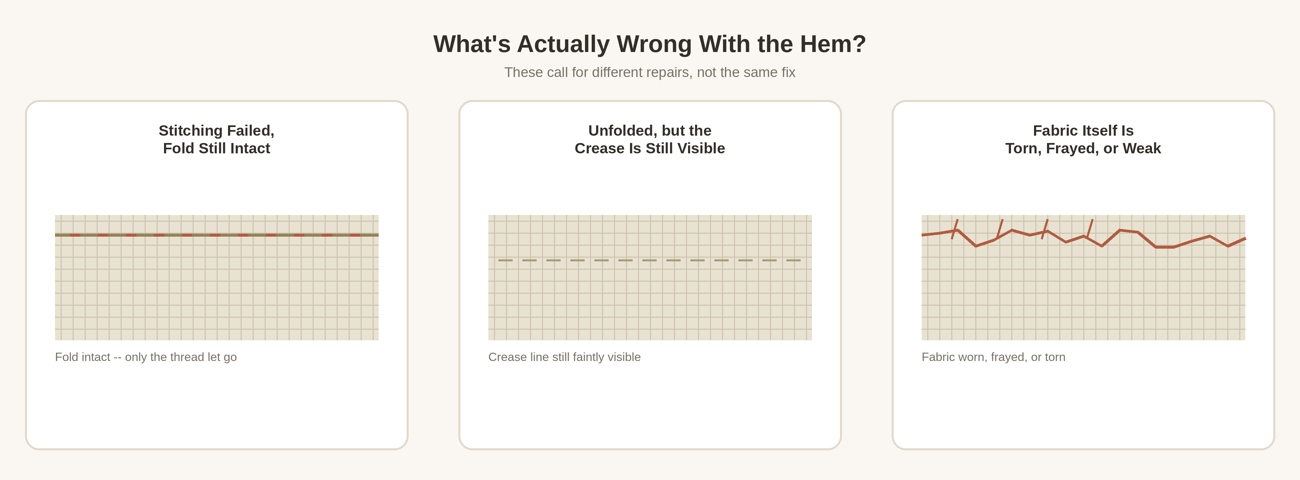
Before restitching anything, take a moment to figure out which of these you’re actually dealing with, since they call for different repairs. The stitching may have simply failed while the original fold is still intact — the simplest case. The hem may have unfolded entirely, but the crease from the original fold is still identifiable if you look closely. The raw edge inside the fold may be fraying. The fabric itself may be torn or worn, not just unstitched. Or the surrounding fabric may have weakened to the point that it’s what caused the hem to fail in the first place, rather than the thread simply wearing out on its own. Restitching through fabric that’s torn or significantly weakened may not actually hold, even if the stitching itself is done carefully — so it’s worth knowing which situation you’re in before you start.
Don’t Just Restitch Before You Look
It’s tempting to just flip the fold back up and stitch it down without thinking much further, but a quick look first can save you from a repair that doesn’t hold. Check whether the original fold and finished length are still usable, or whether the fabric itself has deteriorated at the fold. If the fold and surrounding fabric are sound, restoring that original construction is generally simpler than re-measuring and redesigning the hem from scratch — there’s no need to go through a full measuring and cutting process just because the existing stitching came loose.
Finding the Original Crease
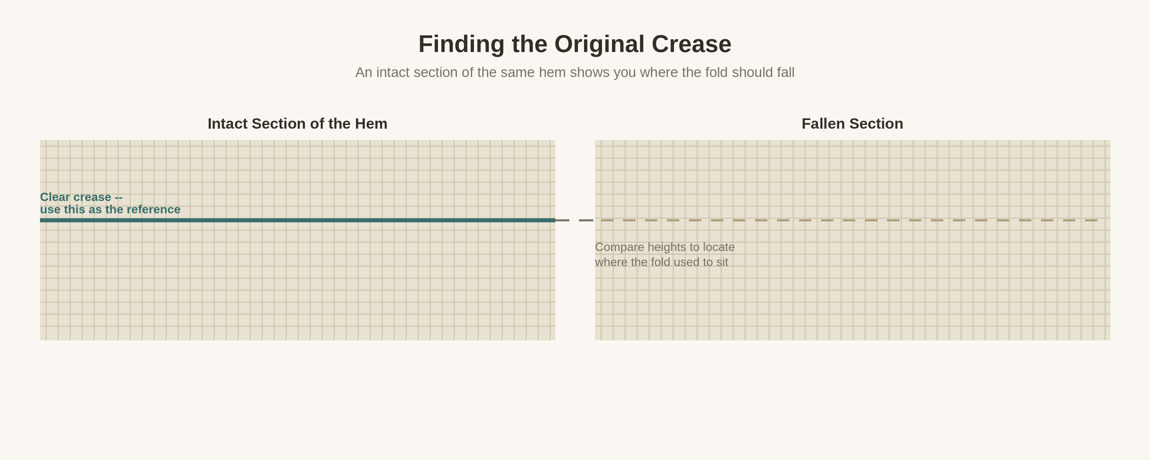
If part of the hem is still intact, that section tells you exactly where the fold should sit on the section that’s fallen — compare the two and use the intact side as your reference rather than guessing at a new fold line. Gently return the fallen fabric to that same position. If the whole hem has unfolded, look for the crease line itself; pressing and general wear usually leave a faint but visible line even after the stitching is long gone, and that line is normally a reliable guide to the original fold.
Restoring the Fold Without Changing the Length
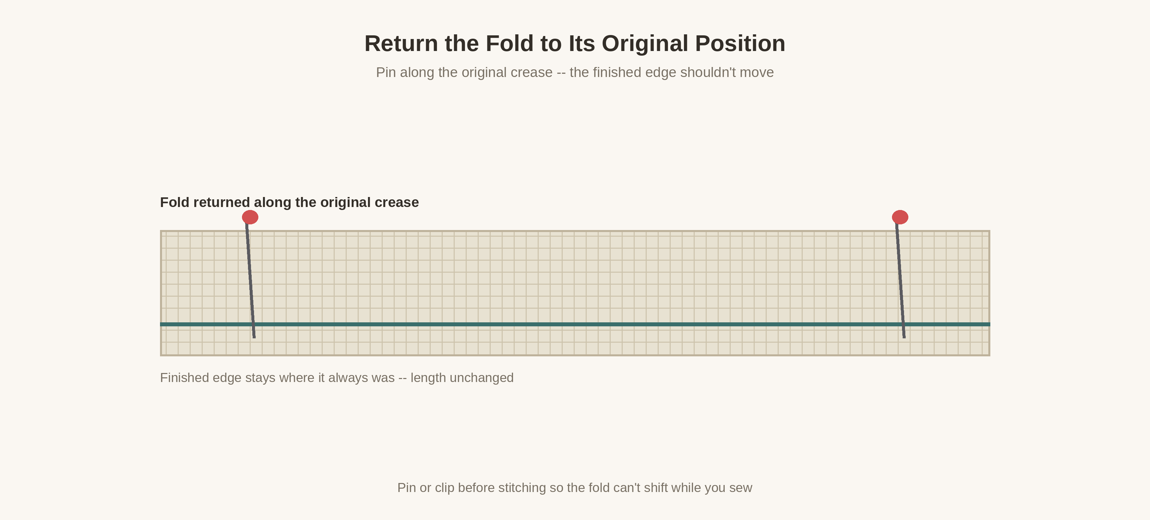
Once you’ve found the original crease, fold the fabric back along it and pin or clip it in place before stitching — whichever holds the fold securely without you having to hold it by hand while you sew. The goal here is specifically to return the garment to its original length, not to establish a new one, so avoid the instinct to “fix” the length while you’re in there. If the fold and finished edge land back where they started, you’re on the right track.
Removing Old Thread First
Where thread is loose or broken, it usually needs to come out cleanly before you restitch, rather than being stitched over. How to Use a Seam Ripper Without Damaging Fabric covers this in detail — and it’s worth being especially careful with a seam ripper around thin or delicate fabric near the hem, since aggressive use there can create new damage on top of the problem you’re trying to fix. There’s also no need to remove stitching that’s still intact and holding just because it’s near the section that failed.
Restitching the Hem
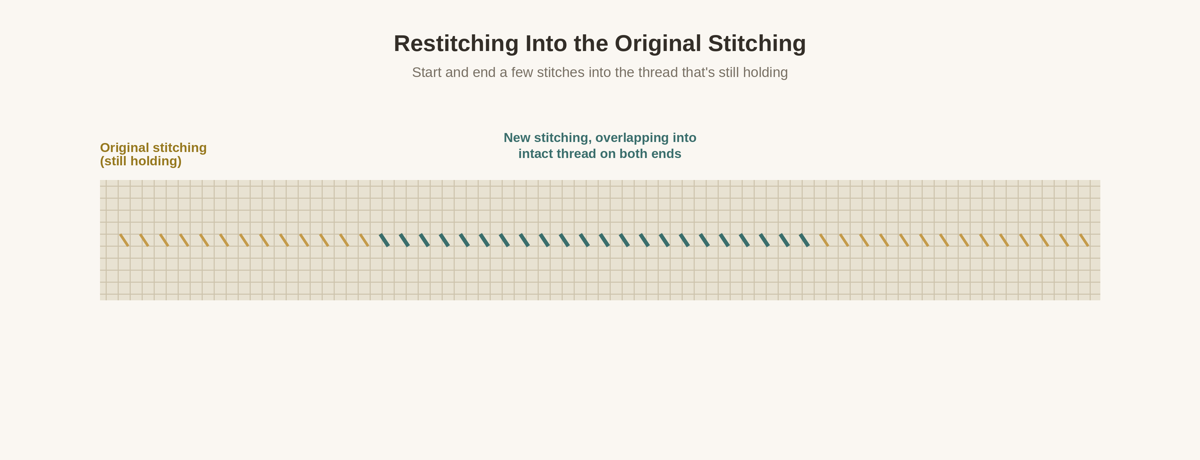
A few hand-stitch approaches are reasonable here — a slip stitch, a blind-style hand hem, a catch stitch, or another simple method that matches how the hem was originally constructed. None of these is universally correct; Basic Hand Stitches Every Beginner Should Know covers the mechanics of these stitches in more depth than this article repeats. Whichever you use, starting a few stitches into the original stitching that’s still intact — on both ends of the damaged section, where that’s possible — ties the repair into the surrounding structure instead of leaving it as an isolated patch of new thread. How to Start and Finish Hand Sewing Without the Thread Coming Loose covers securing the thread itself.
Getting the Tension Right
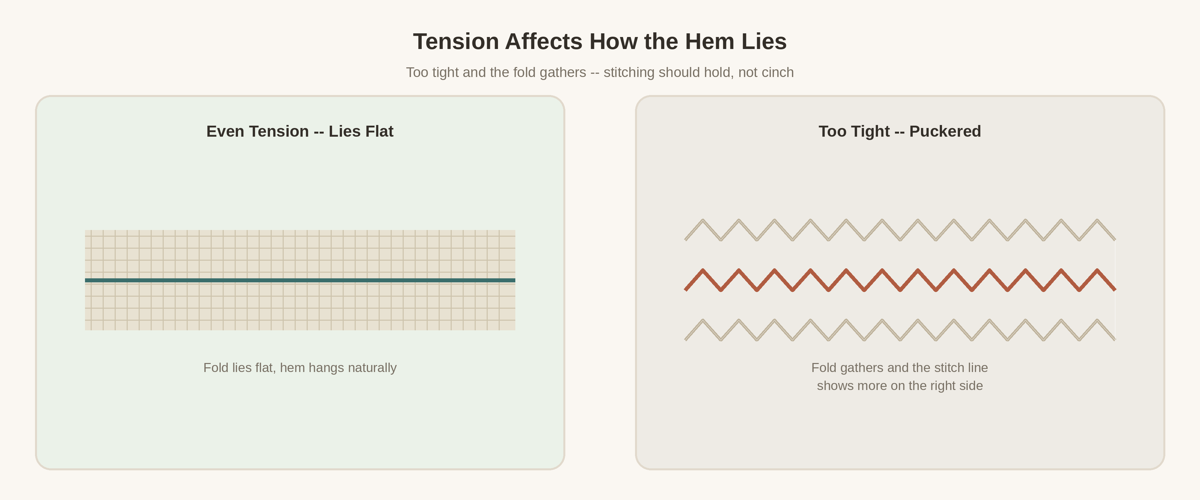
Pulling the stitches too tight is a common instinct when you want a repair to feel secure, but it tends to backfire — overly tight stitching can pucker the fold, distort the hem, and ironically make the stitching more visible from the outside rather than less. There’s no single correct tension that applies to every fabric and every hem; the goal is stitching that’s secure enough to hold without cinching the fabric, so the hem can still lie and hang the way it’s meant to.
Why It Might Keep Coming Loose
If this isn’t the first time this hem has failed, it’s worth thinking about why, rather than just repeating the same repair. A few common causes: the thread simply broke or wore out over time, the stitching got snagged on something, the area saw repeated abrasion that eventually wore through the thread, the raw edge inside the fold is fraying and pulling stitches loose with it, the surrounding fabric has weakened, or the hem is taking more stress or stretch than the original stitch and construction were meant to handle. If a hem keeps failing in the same spot despite careful repairs, simply redoing the same fix may not address whatever’s actually causing it — How to Choose Thread for Clothing Repairs can help if thread weight or type turns out to be part of the problem.
Stretch fabric deserves its own consideration here. A rigid hand-hem stitch that works well on sturdy woven pants isn’t automatically right for a hem on stretchy knit fabric — if the fabric needs to stretch during normal wear and the stitching can’t move with it, the repair can restrict that movement or break outright. Woven-pants hemming logic doesn’t apply uniformly to a stretchy knit garment, so it’s worth choosing a stitch and thread that can accommodate the fabric’s actual behavior rather than assuming one approach fits every hem.
When This Isn’t a Simple Restoration
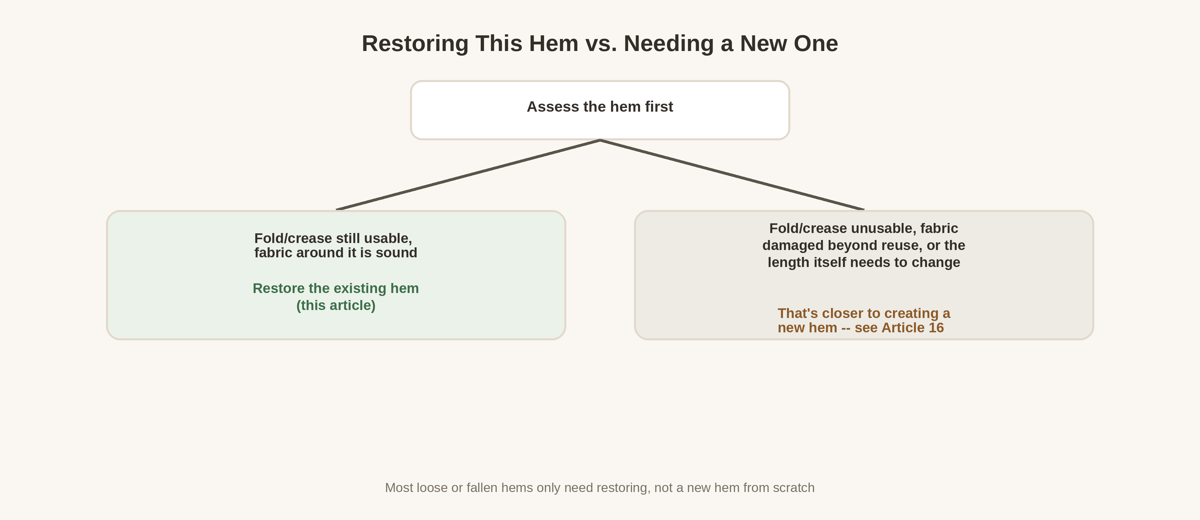
Most loose or fallen hems just need the existing fold restored. But if the original hem construction is damaged beyond reasonable reuse — the fold line is gone, the fabric at the fold has deteriorated, or you’re finding that the pants actually need to be a different length — the task has effectively become closer to creating a new hem than restoring an old one. In that case, How to Hem Pants by Hand covers measuring, establishing a new finished length, and cutting safely, which this article deliberately doesn’t repeat.
Checking the Finished Repair
Try the garment on and take a real look. Confirm the length matches what it was before — check both legs or both sides if relevant. Look at the hem from the front and from behind, and check how visible the stitching is up close versus from a normal distance. Confirm the hem doesn’t restrict normal movement, that the fold lies flat rather than puckering, and that the thread feels secure. These checks catch a problem now, while it’s still easy to fix.