This is for practicing a specific skill: steering a straight line on a machine that’s already set up and threaded without issue. If you haven’t gotten a machine safely set up yet, How to Start Using a Sewing Machine: A First-Time Setup Guide covers that first. And if straight lines by hand are what you’re after instead, How to Sew a Straight Line by Hand covers the hand-sewing version of this — the underlying goal is similar, but the specific techniques below are particular to a machine’s feed mechanism and guides rather than a hand-held needle. None of this requires a “perfect” line either; the goal is steadiness and control, and that comes with repetition rather than getting it right the first time.
Track the Fabric Edge Against a Guide
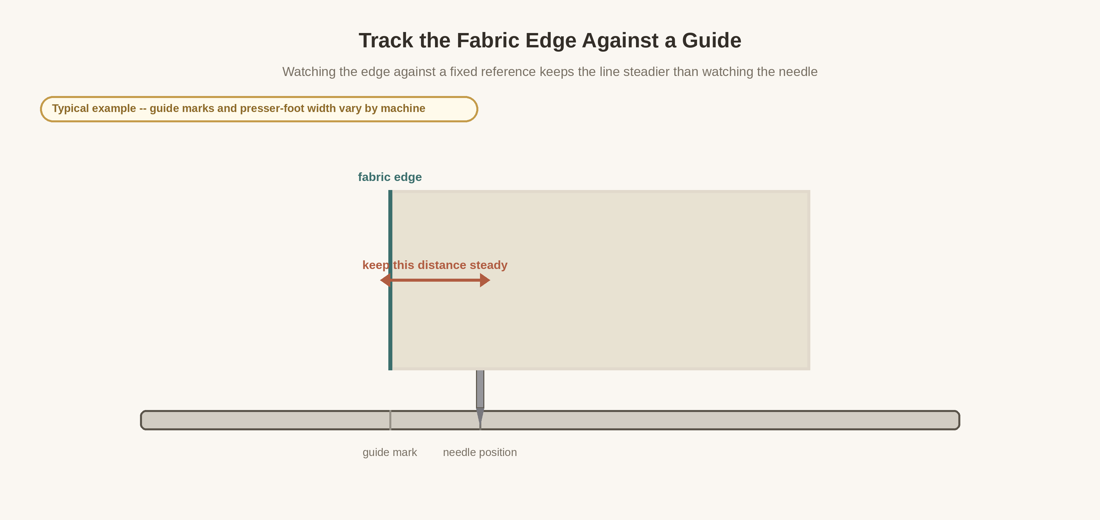
Many machines have guide marks etched into the bed near the needle, and the edge of the presser foot itself often works as a guide too. Rather than watching the needle or trying to steer toward an imagined line, picking a guide mark and keeping the fabric’s cut edge at a steady distance from it gives your hands something concrete to track. Which mark to use, and how far it sits from the needle, depends on the machine — check what your machine offers rather than assuming a specific mark or measurement applies universally.
Where to Look While You Sew
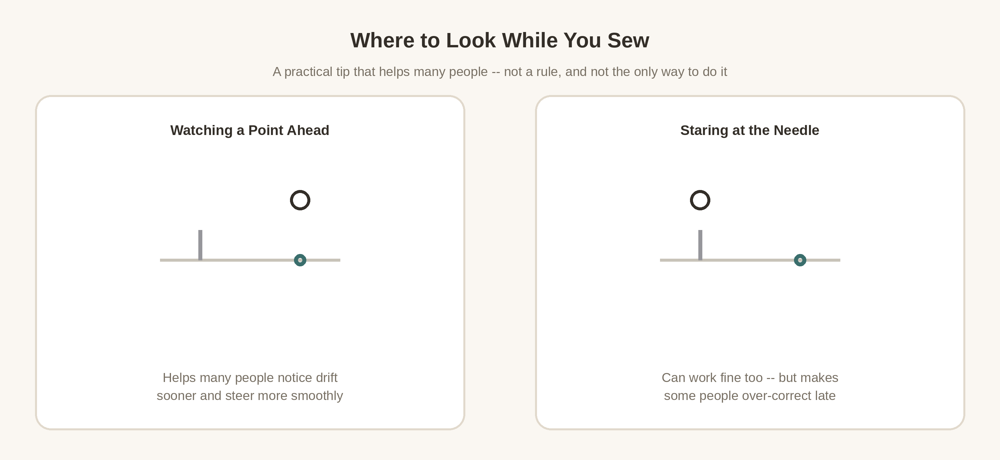
Many people find it easier to keep a line steady by watching a point a little ahead on the intended path, or watching where the fabric edge meets the guide, rather than staring directly at the needle. This is a practical tip that helps a lot of people notice drift sooner and correct it more smoothly — it’s not a rule, and plenty of people sew perfectly well watching the needle itself. Worth trying both and sticking with whichever actually feels more controlled for you.
Let the Feed Mechanism Set the Pace
The machine’s own feed mechanism moves the fabric at a consistent rate — your hands are there to guide direction and hold the fabric at the right distance from the guide, not to push it along faster or hold it back. Sewing slower than feels necessary, especially while you’re still building the skill, gives you more time to notice and correct small drifts before they become a visible curve. Speed is worth adding later, once steering feels more automatic.
Stop With the Needle Down to Reposition
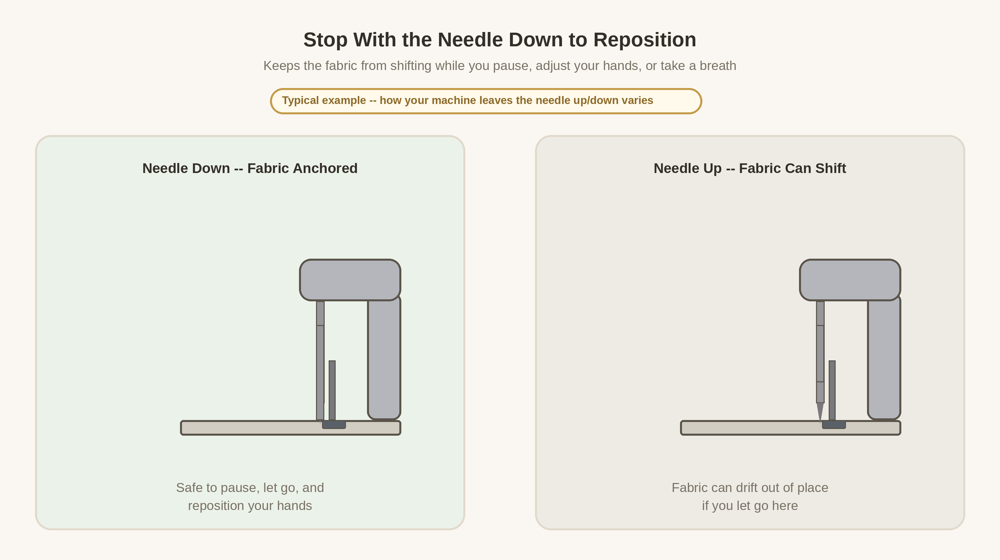
If you need to pause mid-seam — to reposition your hands, check your progress, or just take a breath — stopping with the needle down through the fabric, where your machine allows it, keeps the fabric anchored in place while you let go. Stopping with the needle up leaves the fabric free to shift slightly, which can leave a small jog or misalignment right at the point where you paused.
Practicing Unthreaded, on Paper
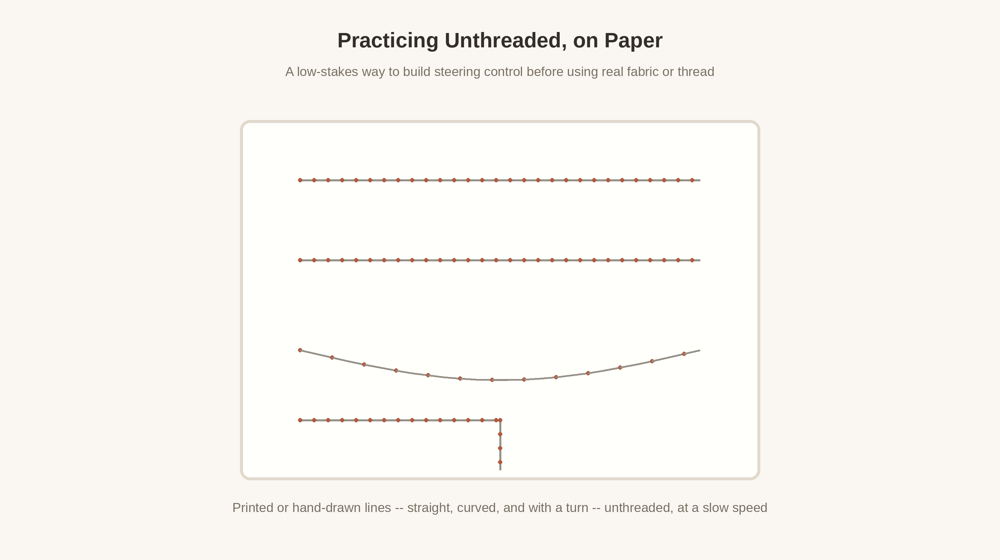
Running the machine unthreaded over paper with printed or hand-drawn lines — straight, gently curved, and with a right-angle turn — is a low-stakes way to build steering control without worrying about wasting fabric or thread. The needle perforates the paper along the line, so you get immediate feedback on how closely you tracked it. This is worth returning to any time you want to practice a specific shape, like a corner or a curve, in isolation before combining it with the rest of a seam.
Drifting Away From the Guide
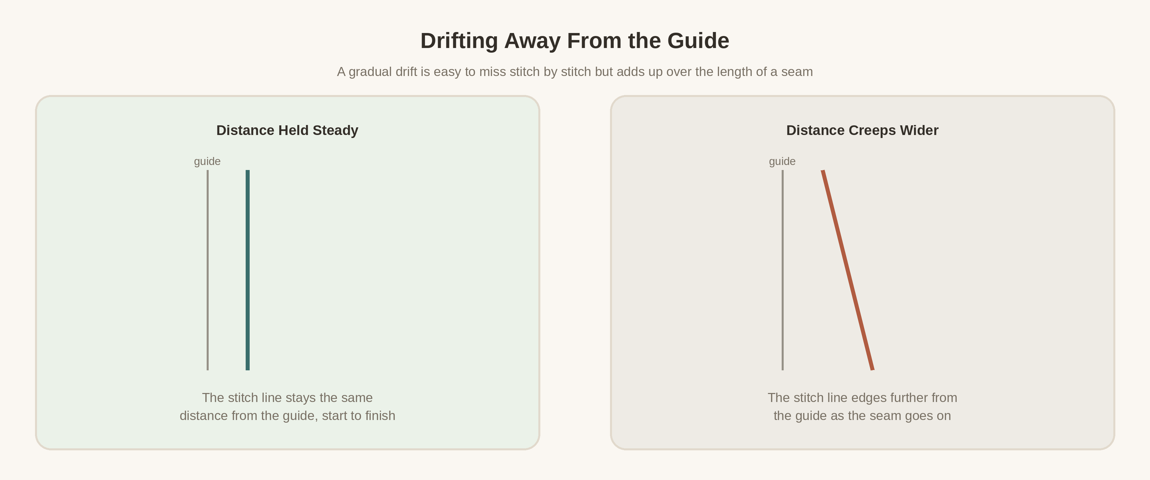
A gradual drift away from your guide is easy to miss stitch by stitch, since each individual stitch can look fine on its own — it only becomes obvious once you look back at the whole seam. Getting in the habit of periodically checking the distance between the fabric edge and your guide, rather than only checking at the very end, catches this while it’s still a small correction instead of a visible curve.
If the Machine Starts Fighting You Mid-Practice
Occasional jamming or thread bunching during practice isn’t a sign you’re doing the steering wrong — it’s a separate, mechanical issue with its own causes and its own fix, covered in Why a Sewing Machine Keeps Jamming (and How to Fix It). Worth ruling that out before assuming a wavering line is purely a steering problem.
Quick Practice Reference
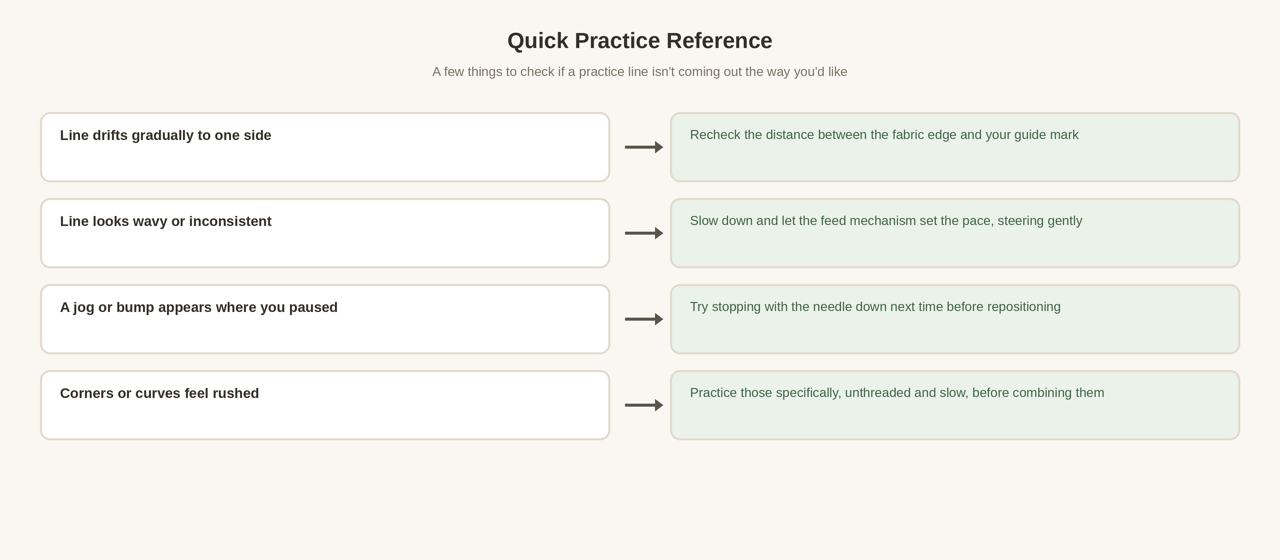
A practice line that doesn’t come out the way you wanted isn’t a failed attempt — it’s information about what to adjust on the next one. The table above is a quick place to start narrowing that down.