A pocket coming apart isn’t one problem — it’s several different problems that happen to show up in the same place. Sewing it shut, or restitching wherever it looks loose without knowing why, can leave you with a pocket that still doesn’t work, or worse, one that’s been accidentally closed. This article is about figuring out what’s actually failing before you pick up a needle.
Where Is the Pocket Actually Failing?
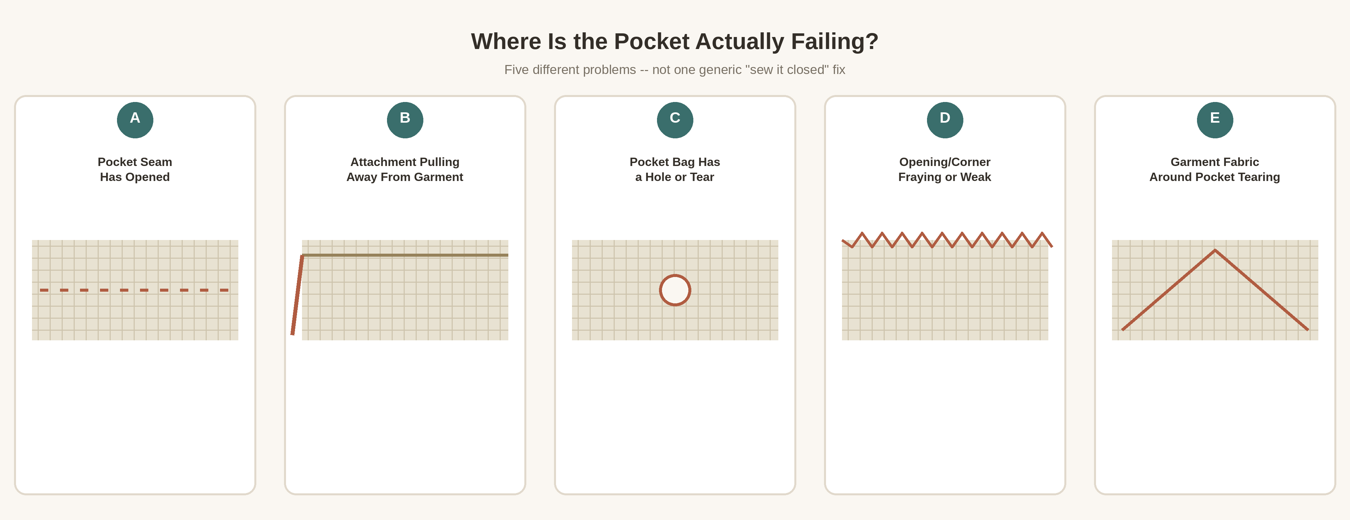
A few different things can be going on, and they call for different repairs. The pocket seam may have simply opened, with the fabric itself still intact. The pocket’s attachment to the garment may be pulling away. The pocket bag itself — the fabric that forms the pouch — may have a hole or tear. The opening or a corner may be fraying or weakening. Or the garment fabric around the pocket, not the pocket construction itself, may be the part that’s actually tearing. Take a moment to identify which of these you’re looking at before deciding how to fix it.
Two Basic Pocket Constructions
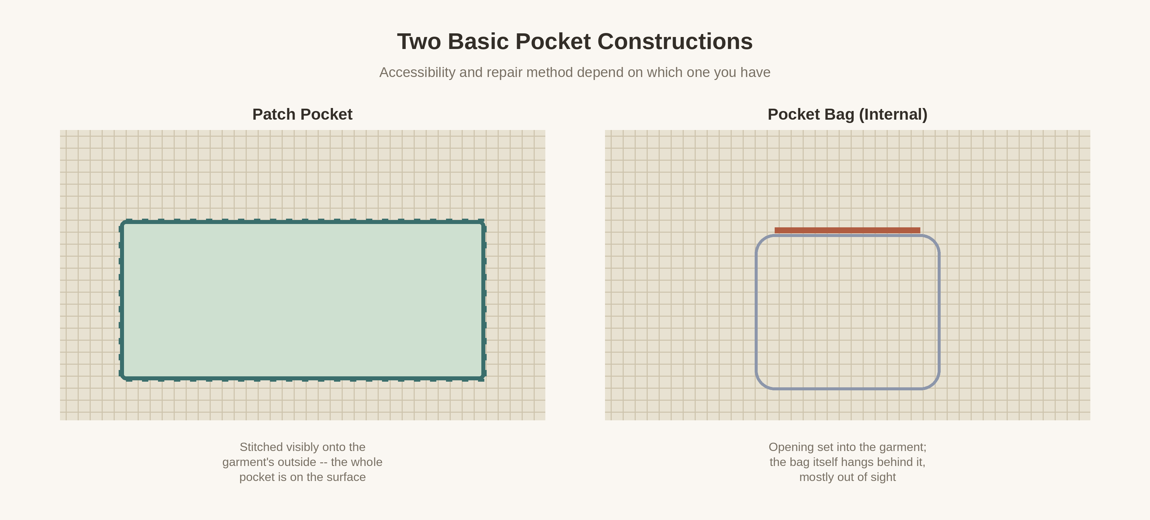
Without trying to cover every way a pocket can be built, it helps to know roughly what you’re dealing with. A patch pocket is attached visibly to the outside of the garment — the whole pocket sits on the surface, and you can generally see and reach all of it. An internal pocket bag is different: there’s an opening set into the garment, and the bag itself hangs behind it, mostly out of sight and sometimes only reachable by turning the garment or reaching in through the opening. Some pocket openings are incorporated directly into a seam or other construction detail. How accessible the damage is, and what repair method makes sense, depends on which of these you actually have.
Look Before You Stitch
Before repairing anything, empty the pocket, and where you can, turn or reach into the pocket bag to look at it from both sides. Figure out whether it was the thread that failed or the fabric itself. Inspect the corners specifically, since they tend to be where problems start. Check the fabric surrounding the damage, not just the damage itself. Stitching blindly from the outside of the garment, without knowing what layers you’re actually catching underneath, is how a pocket ends up sewn shut by accident.
When the Seam Has Simply Opened
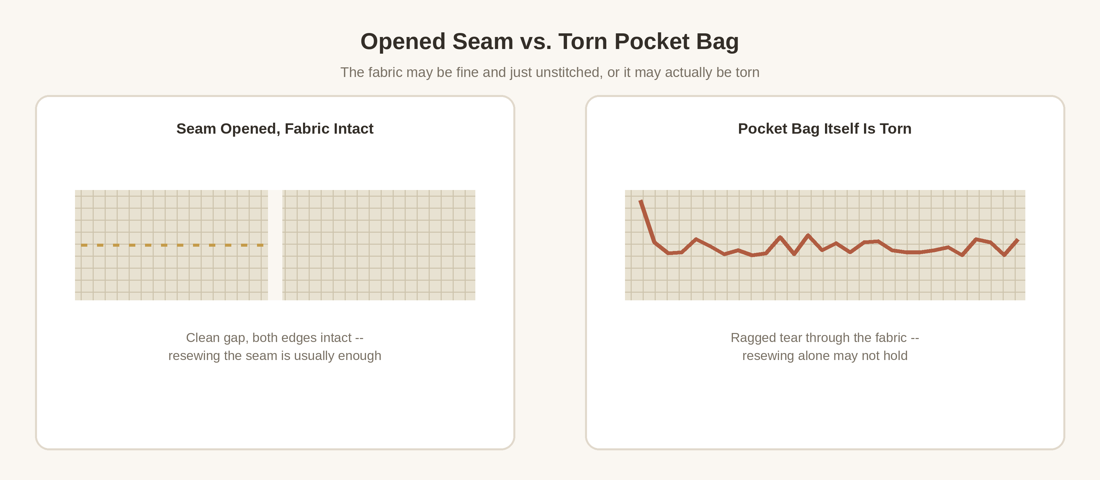
If the fabric is sound and only the seam stitching has failed, How to Repair a Torn Seam is a natural prerequisite for the actual stitching mechanics. Realign the seam back to its original line rather than narrowing the pocket to catch fabric that looks stronger — making the pocket smaller isn’t necessary unless the specific damage or construction genuinely calls for it.
When the Pocket Bag Itself Is Torn
A torn pocket bag is a different problem from an opened seam, even though both can look similar at a glance. Depending on the damage, a torn pocket bag may need careful closure if the edges meet naturally without forcing, some reinforcement behind the tear, or a patch — How to Sew a Patch Onto Clothing covers that in detail. Avoid pulling any missing material together aggressively; if fabric is actually gone, forcing the edges to meet just distorts the bag and concentrates stress right where it already failed.
Pocket Corners Take Concentrated Stress
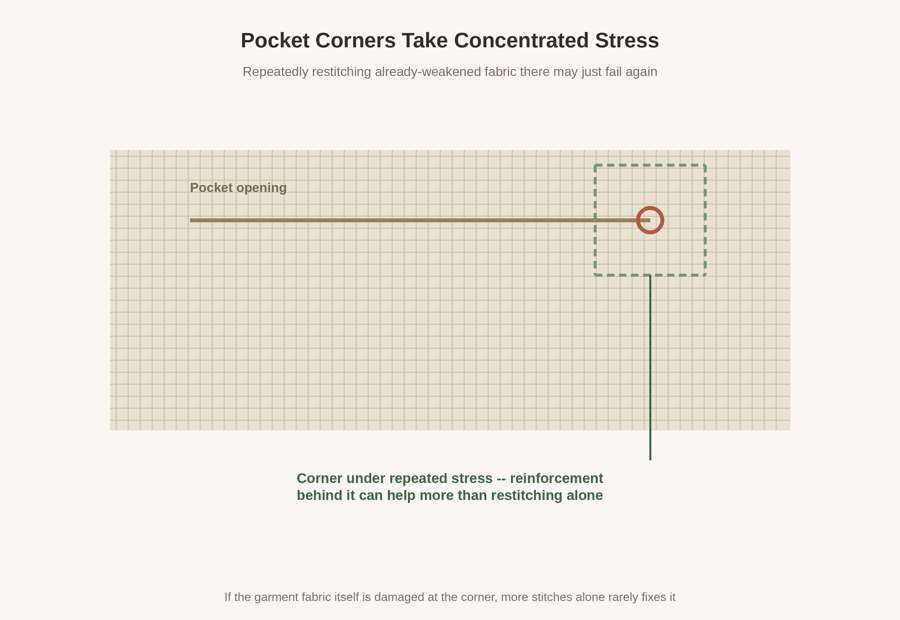
Corners and the ends of the opening see repeated stress every time the pocket is used, which is exactly why they’re a common place for damage to start. If you’re restitching into fabric that’s already weakened at a corner, that repair may simply fail again before long. When the garment fabric itself is damaged at the corner — not just the stitching — reinforcement behind that spot is often more useful than just adding more stitches on top of already-compromised material.
An Exterior Patch Pocket Pulling Away
When a patch pocket is visibly pulling away from the garment, it’s worth figuring out exactly what’s failing before restitching. It could be that the attachment stitching itself has given out while both the pocket and the garment fabric are fine. It could be that the garment fabric underneath the attachment point is actually tearing. Or the pocket fabric itself, right at the attachment line, could be what’s torn. Sewing repeatedly through a damaged attachment point without addressing which of these is happening tends to just fail again in the same spot — reinforcement, not just more stitches, is usually what a damaged attachment point actually needs.
Catching the Right Layers
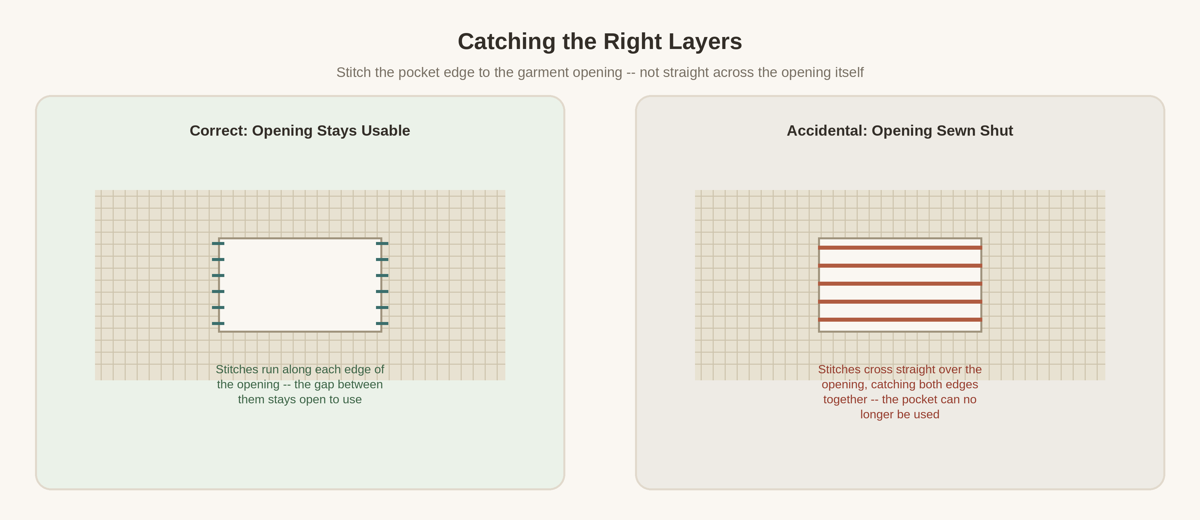
This is worth being deliberate about: stitches should run along the edges of the pocket opening, attaching the pocket fabric to the garment there — not straight across the opening itself. Stitching across the opening joins its two edges together and closes it, which means a repair meant to fix the pocket ends up making it unusable instead. Basic Hand Stitches Every Beginner Should Know covers stitch mechanics if you need a refresher, but the layer-capture part is specific to pockets and worth double-checking as you go, not just at the end.
Checking the Repair
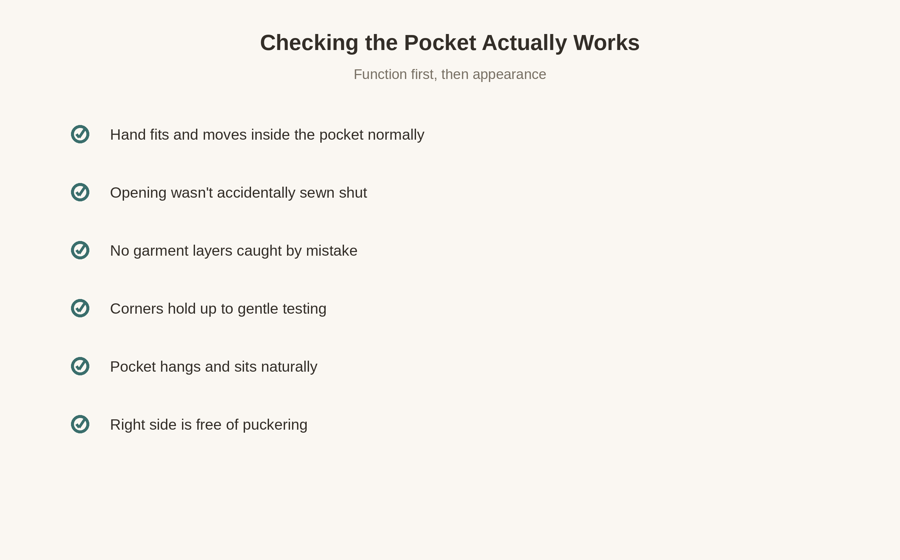
Once you think you’re done, place your hand inside the pocket and check that the opening is genuinely usable. Confirm you haven’t accidentally sewn it shut, and check for any garment layers that got caught by mistake. Gently test the corners — there’s no need to immediately load the pocket down heavily as a “strength test,” which can undo a repair that would otherwise have held up fine under normal use. Verify the pocket hangs and sits naturally rather than pulling oddly, and check the right side of the garment for puckering.
When Professional Repair Is Worth Considering
Some pocket repairs are more involved than others: tailored welt pockets, lined garments where the pocket bag is hard to reach, extensive tearing in the garment fabric itself, complex pocket openings, or damage significant enough to need real reconstruction. None of these make the repair impossible to do yourself — but they’re situations where it’s worth being realistic about your own experience level, especially on a garment you don’t want to risk getting wrong. When Clothing Can Be Repaired and When It Should Be Replaced can help you think through that decision.