A repair that comes undone a week later usually isn’t a problem with the stitches themselves — it’s a problem with how the thread was started or finished. A line of perfectly even stitching still unravels if the first stitch was never anchored, or the last one was never properly tied off. This covers the practical part most tutorials skip: securing the thread at both ends so the stitching in between actually stays put.
Before You Start: Single or Doubled Thread
How you thread the needle changes how you’ll secure the start. With a doubled strand — pulled through the eye until both ends meet — you have two loose tail ends to work with, which is what lets you tie them together in a single knot. With a single strand, you’re securing just the one tail, which usually means a smaller knot or a different anchoring method altogether. Neither setup is right for every repair; which one you’re using is just worth knowing before you decide how to start.
Starting a Stitch Securely
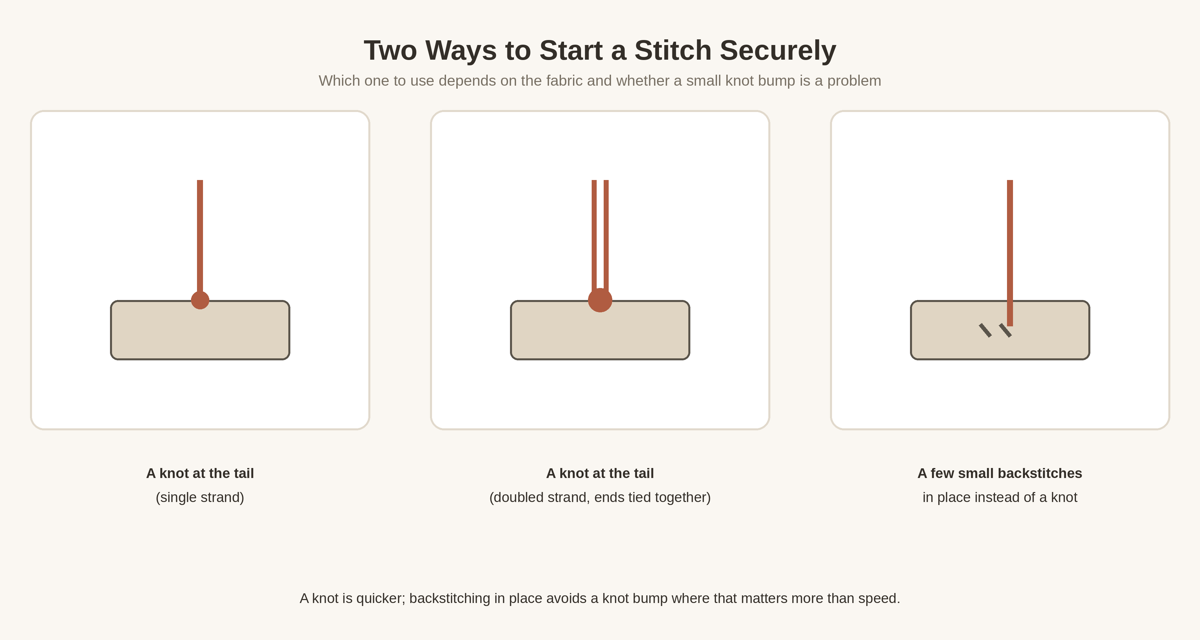
There are two common ways to anchor the first stitch, and neither is correct for every situation. The first is a knot at the thread’s tail — a single overhand knot for a single strand, or the two ends tied together for a doubled strand — pulled snug against the fabric before your first stitch. It’s quick and reliable, and it’s the default most people reach for.
The second is a few small stitches taken in place, right where you’re about to start, before moving on to the actual line of stitching. This skips the knot entirely, which matters on fabric where a knot might show through, catch on something, or add a bump you don’t want. It takes a little longer than tying a knot, but it lies flatter.
Finishing and Knotting Off
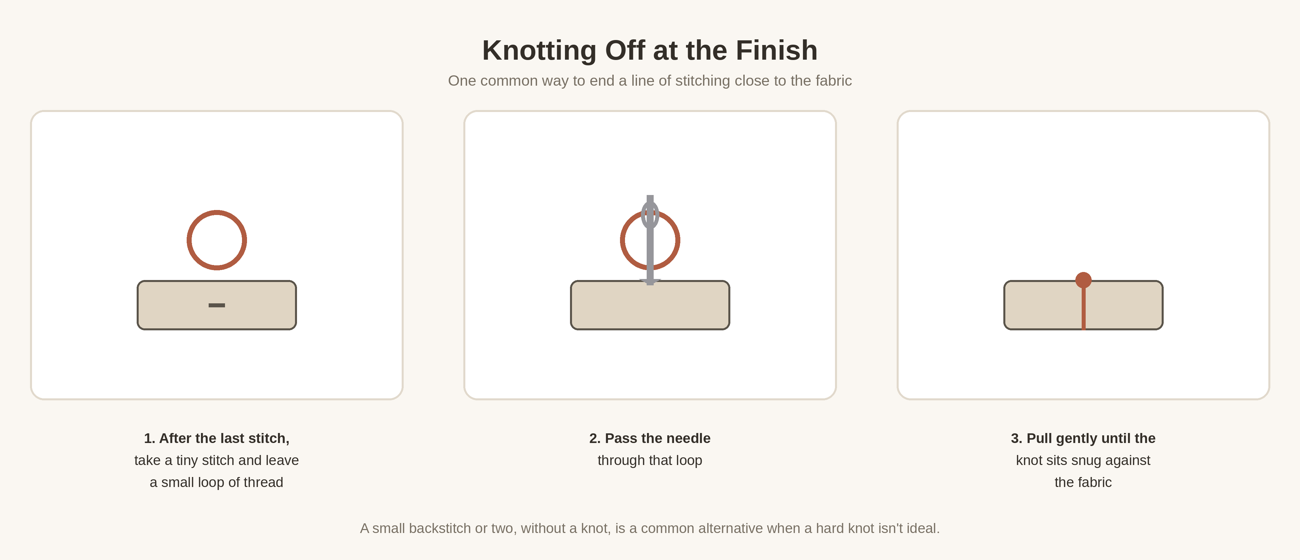
One common way to end a line of stitching: after your last stitch, take a tiny stitch right where the thread came up and leave a small loop instead of pulling it all the way through. Pass the needle through that loop, then pull gently until the resulting knot sits snug against the fabric. This is a widely used technique, not the only correct one — some sewers finish with a couple of small backstitches instead of a knot at all, which avoids a hard knot entirely and works well on stretchy or loosely woven fabric where a knot is more likely to work its way through.
A bigger knot is not a stronger repair. What actually holds the stitching in place is the knot sitting snug against fabric with a weave tight enough to stop it pulling through, and thread suited to that fabric — not how large the knot itself is. An oversized knot on loosely woven fabric can still pull through eventually, while an appropriately sized knot on suitable fabric holds fine.
When a Knot Isn’t the Best Finish
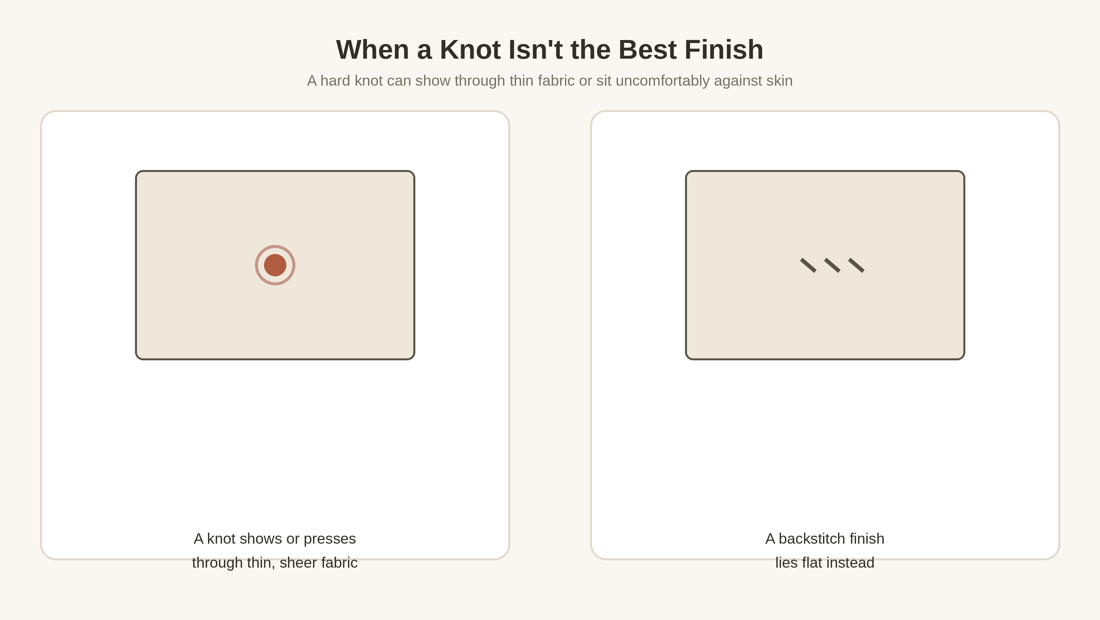
A hard knot isn’t always the right choice. On thin or sheer fabric, a knot can show through or create a small visible bump on the right side. On something worn against skin, like a waistband or a collar, a hard knot can be uncomfortable. And on a repair where the stitching itself is meant to stay close to invisible, a knot sitting on the surface can undercut that. In any of these cases, a backstitch finish — or hiding the knot where the construction allows it, covered next — is usually a better fit than a bigger or tighter knot.
Hiding and Trimming Thread Tails
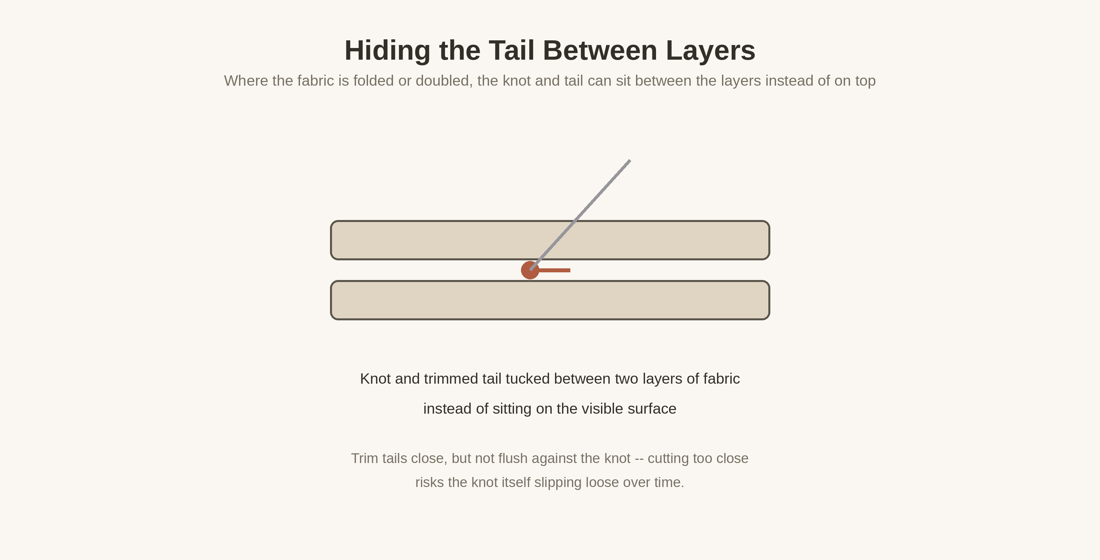
Wherever the fabric is folded or doubled — a hem allowance, a waistband, a cuff, a seam allowance — the knot and tail can often be tucked into the gap between the layers instead of sitting on the visible surface. Start or end the stitch from inside that gap where the construction allows it, and the knot disappears between the layers rather than showing on either side.
When trimming a tail, cut it close to the knot, but not flush against it. Leaving a small amount of thread beyond the knot gives it something to grip; cutting directly at the knot risks the knot slipping loose over time, especially after a few washes.
Reinforcing a High-Stress Start
For repairs that take real strain — a button, a seam at a stress point, anything that gets pulled or tugged during normal wear — a couple of small backstitches taken early in the line of stitching, in addition to your knot or anchor, adds real reinforcement right where the stitching is most likely to fail first. This isn’t necessary for light, low-stress repairs, but it’s a genuinely useful habit for anything that’s going to be pulled on.
If Stitches Keep Coming Loose Anyway
| What’s Happening | Likely Cause |
|---|---|
| The knot pulled through to the other side | The fabric’s weave may be too loose for that knot and thread combination, or the tail was trimmed too close — try a backstitch anchor instead, or a doubled-thread knot |
| The stitching unraveled starting from the last stitch | The finishing knot may not have been pulled snug against the fabric, or the loop was released before it tightened — check that the knot sits flush, not loose |
| A knot is visible or uncomfortable on the finished repair | A hard knot may not suit this fabric or location — a backstitch finish or a tail hidden between layers is usually a better fit than forcing a bigger knot |
| The repair held at first but failed under normal wear | A high-stress point may need a few reinforcing backstitches near the start in addition to the knot, not just a bigger knot |
Getting Started
These starting and finishing methods apply to any hand stitch you use, once you’ve got a threaded needle in hand — see How to Thread a Needle (Even With Poor Eyesight) if you’re not there yet, and Essential Sewing Tools for Beginners for what else is worth having on hand before you start. Once you can start and finish confidently, Basic Hand Stitches Every Beginner Should Know covers which stitch to reach for.